I would like to share my experience with the installation of MDM v 11.4 on a Windows workstation(Development machine)


Before you begin:
Make sure you have
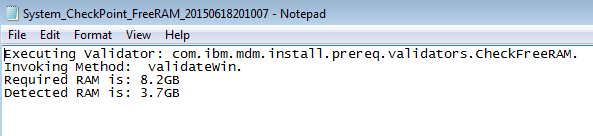
- A machine with 8+ GB RAM(12GB recommended as during installation I noticed that the Physical Memory usage is very high and my available Physical memory went down to 74MB)
This was my OS information, but 8gb ram is too low.
2) Admin Rights (Elevated rights alone with regedit access is not sufficient, as the process creates new users etc).
It causes trouble during DB2 installation and you have to do a lot of steps manually to make it working.
3) Disable Antivirus
4) Disable Windows Firewall
Downloads:
Supporting Software
|
eAssembly Description
|
eAssembly part number
|
Additional Information
|
DB2
|
IBM InfoSphere Master Data Management V11.4 - IBM DB2 Enterprise Server Edition V10.5 Multiplatform Multilingual eAssembly
|
CRTR2ML
|
Activation Kit:
IBM DB2 Enterprise Server Edition - Restricted Use - Quick Start and Activation V10.5.0.1 for Linux, UNIX and Windows Multilingual (CIPH4ML ) |
WebSphere Application Server - Network Deployment
|
IBM InfoSphere Master Data Management V11.4 - IBM WebSphere Application Server Network Deployment V8.5.5 Multiplatform Multilingual eAssembly
|
CRTR6ML
| |
Rational Application Developer for WebSphere Software
|
IBM InfoSphere Master Data Management V11.4 -IBM Rational Application Developer for WebSphere Software V9.1 Multilingual Multiplatform eAssembly
|
CRTR3ML
|
Activation Kit:
IBM Rational Application Developer for WebSphere Software V9.1 Activation Kit Multiplatform |
IBM InfoSphere Master Data Management Standard & Advanced Edition Mulitplatform Multilingual V11.4
Part 1 CN1UWML
Part 2 CN1UXML
Part 3 CN1UYML
Part 4 CN1UZML
Part 5 CN1V0ML
Part 6 CN1V1ML
IBM InfoSphere Master Data Management Workbench Standard & Advanced Edition Mulitplatform Multilingual V11.4
Part 1 CN1V2ML
Part 2 CN1V3ML
Part 3 CN1V4ML
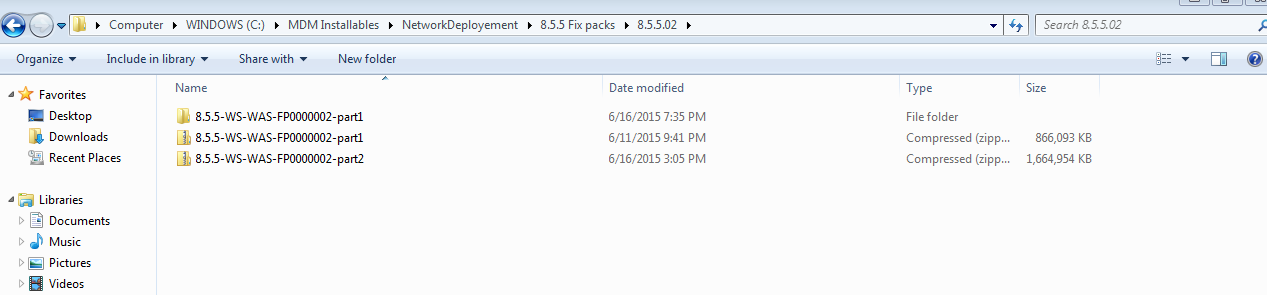
IBM WebSphere Application Server Fix Pack v8.5.5.2(Fix pack 8.5.5.1 and 8.5.5.2 both are needed)
Fix packs should be available from fix central.
9.1 ->RAD
10.5->DB2
11.4 ->MDM Adv or Std
Network Deployment ->WAS 8.5.5
Fix packs:
Workbench->MDM Workbench
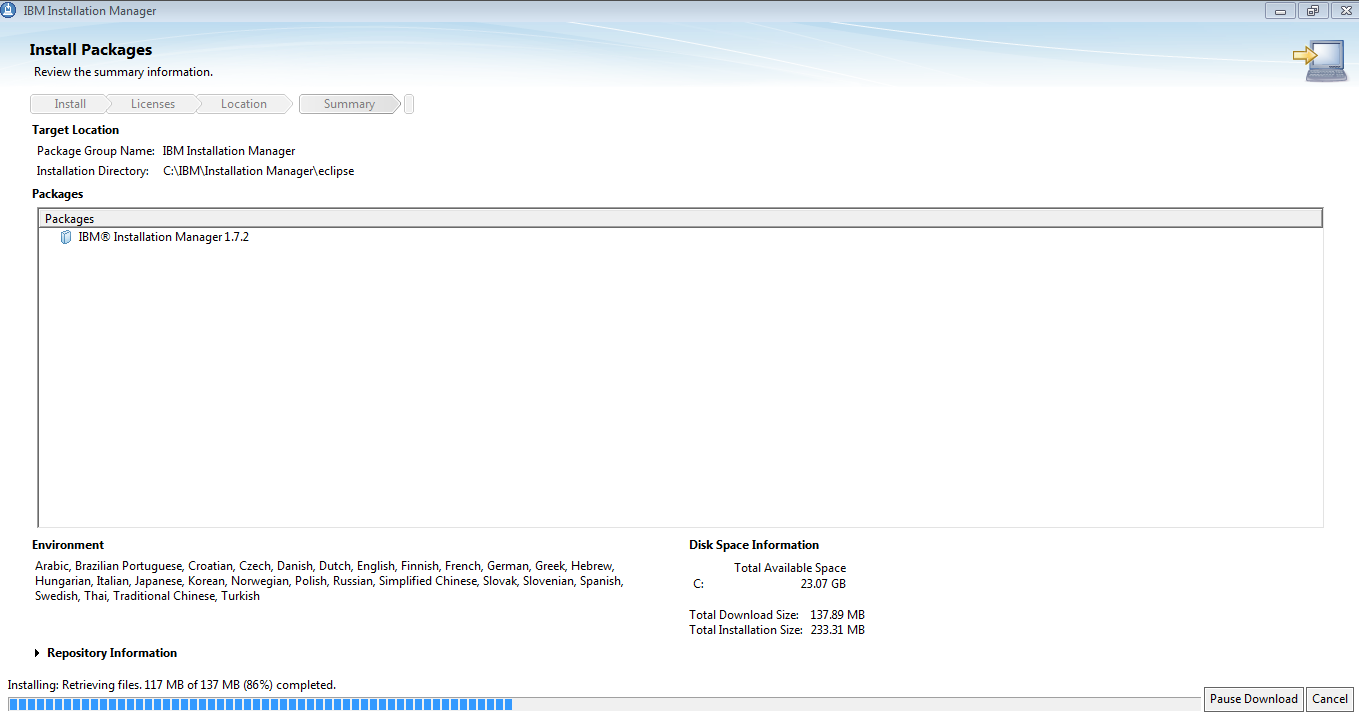
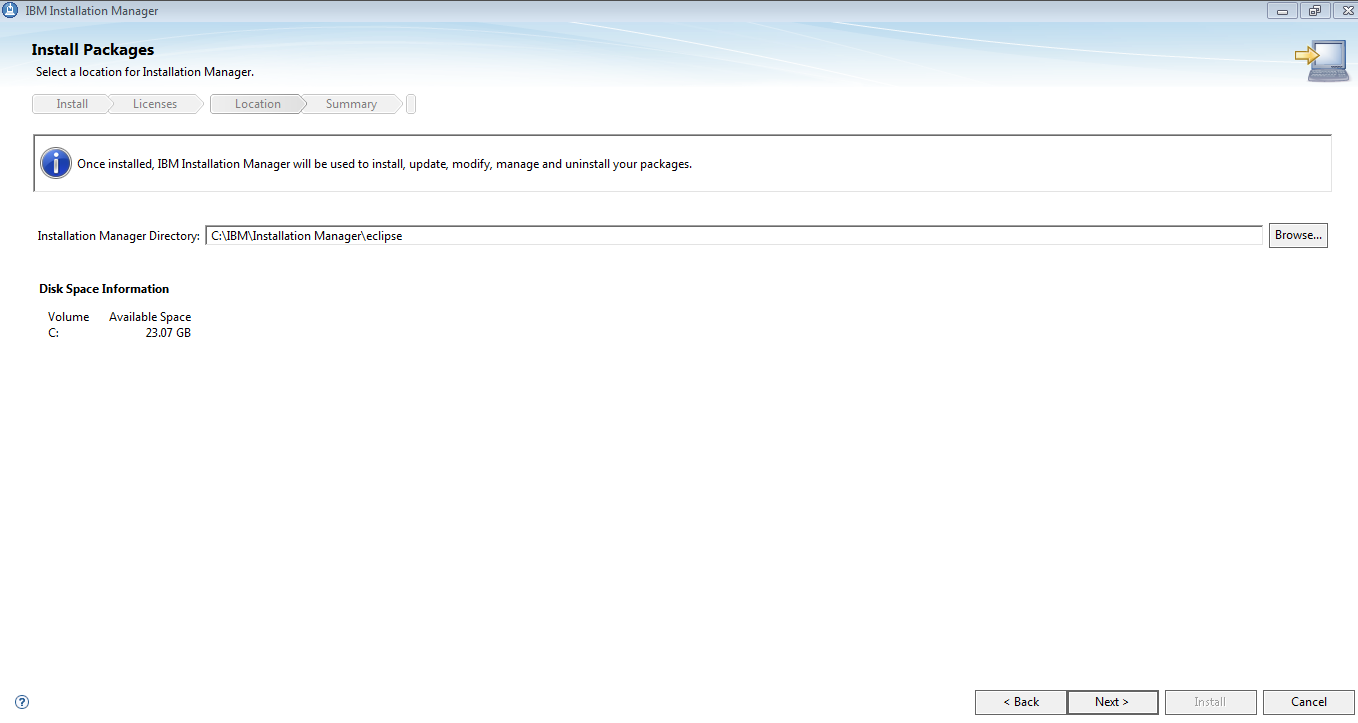
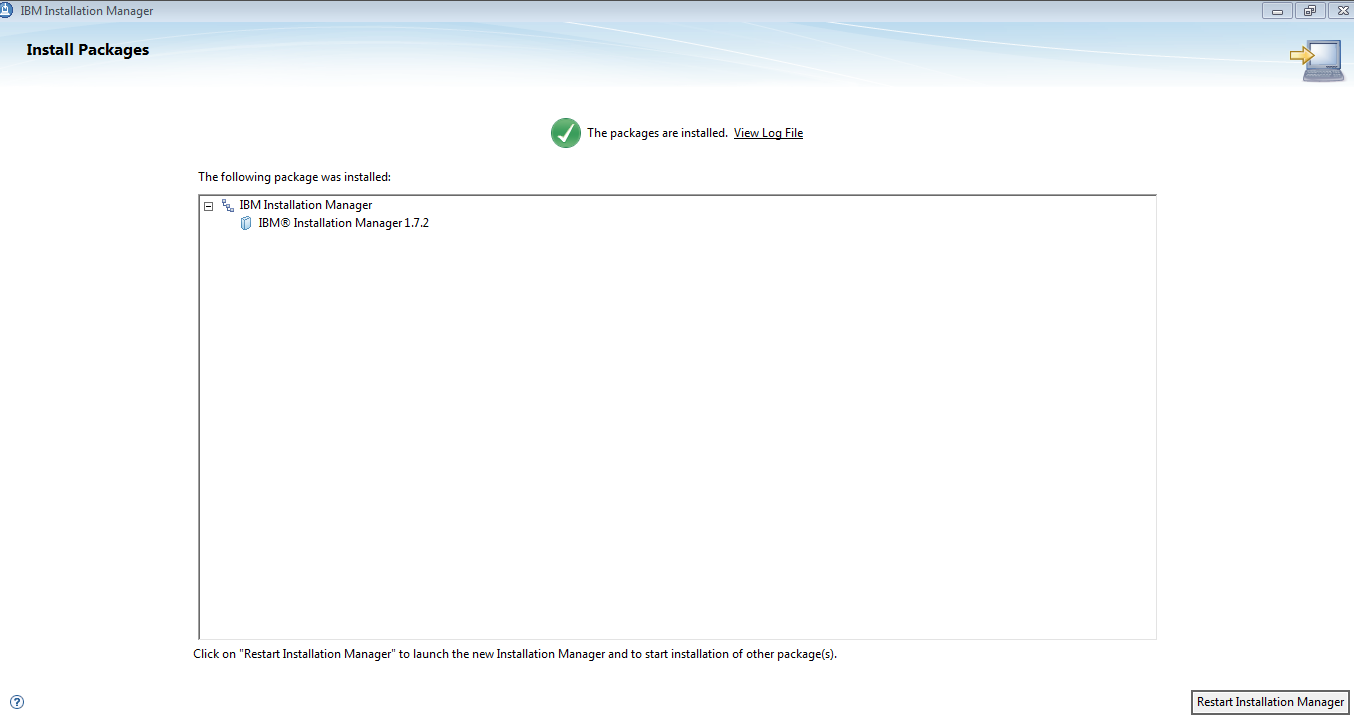
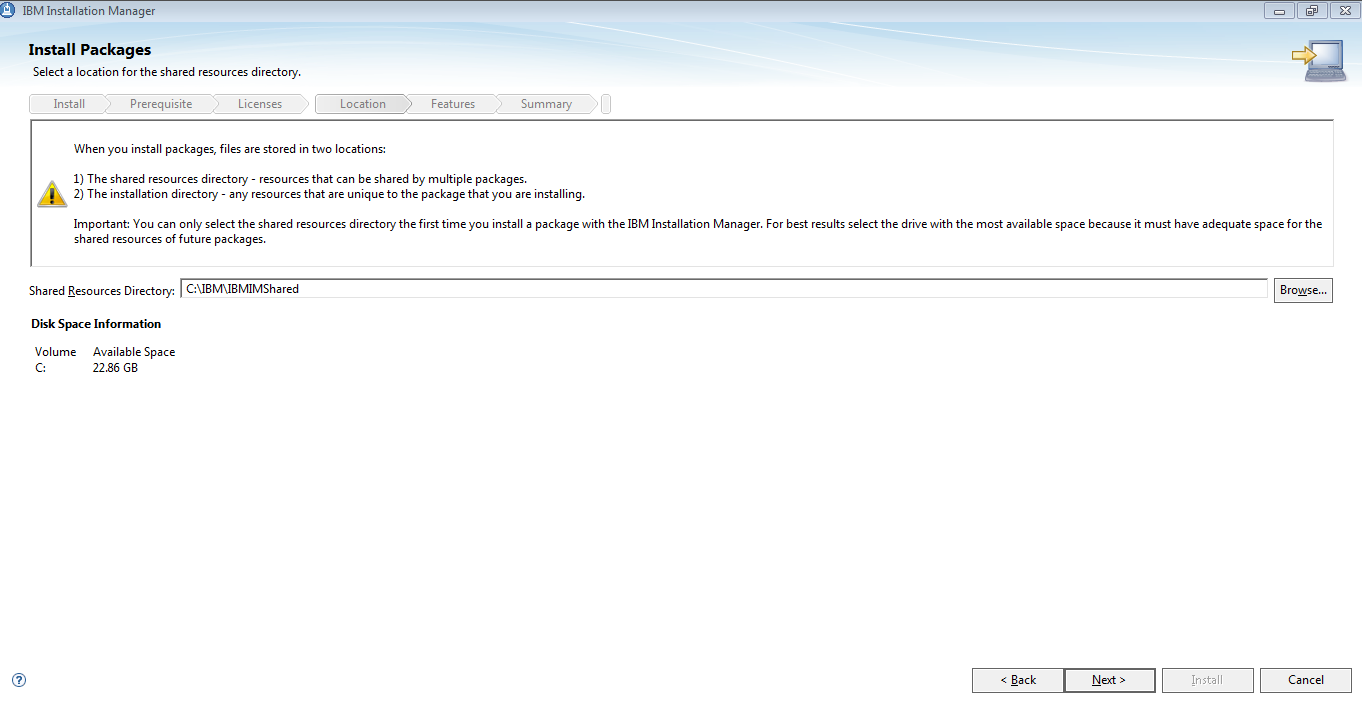
To install Installation Manager (1.7.2)
1)Extract disk1 of MDM_STD_ADV_11.4_ML_1
Goto:
C:\MDM Installables\11.4\MDM_STD_ADV_11.4_ML_1\MDM\disk1\installer_win32_win32_x86_64
Right Click install(blue icon) ->Run as Administrator
Click Next ->Click Install
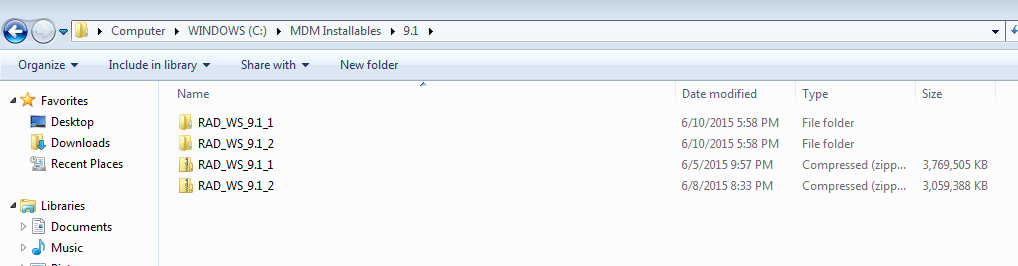
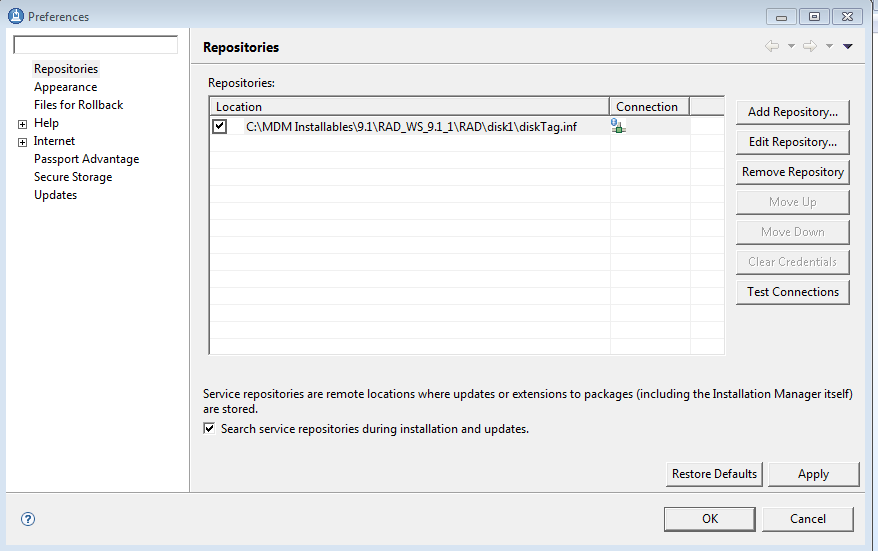
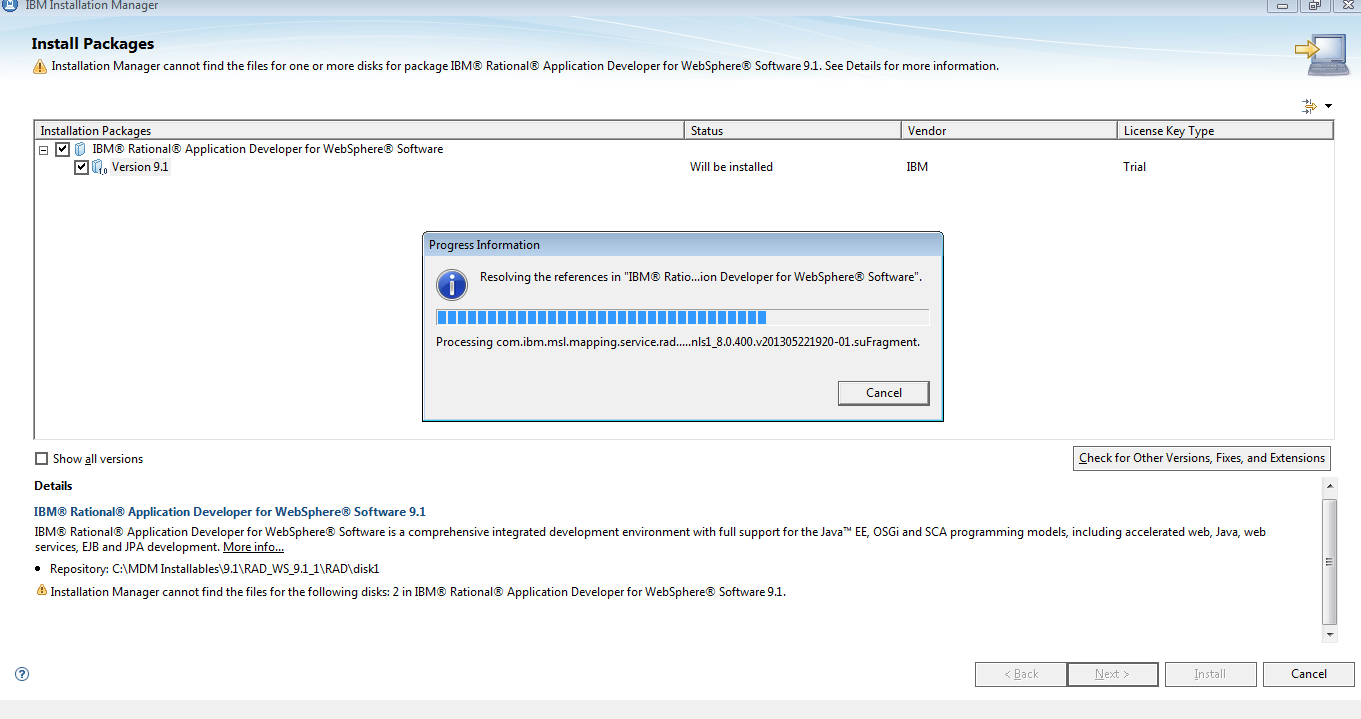
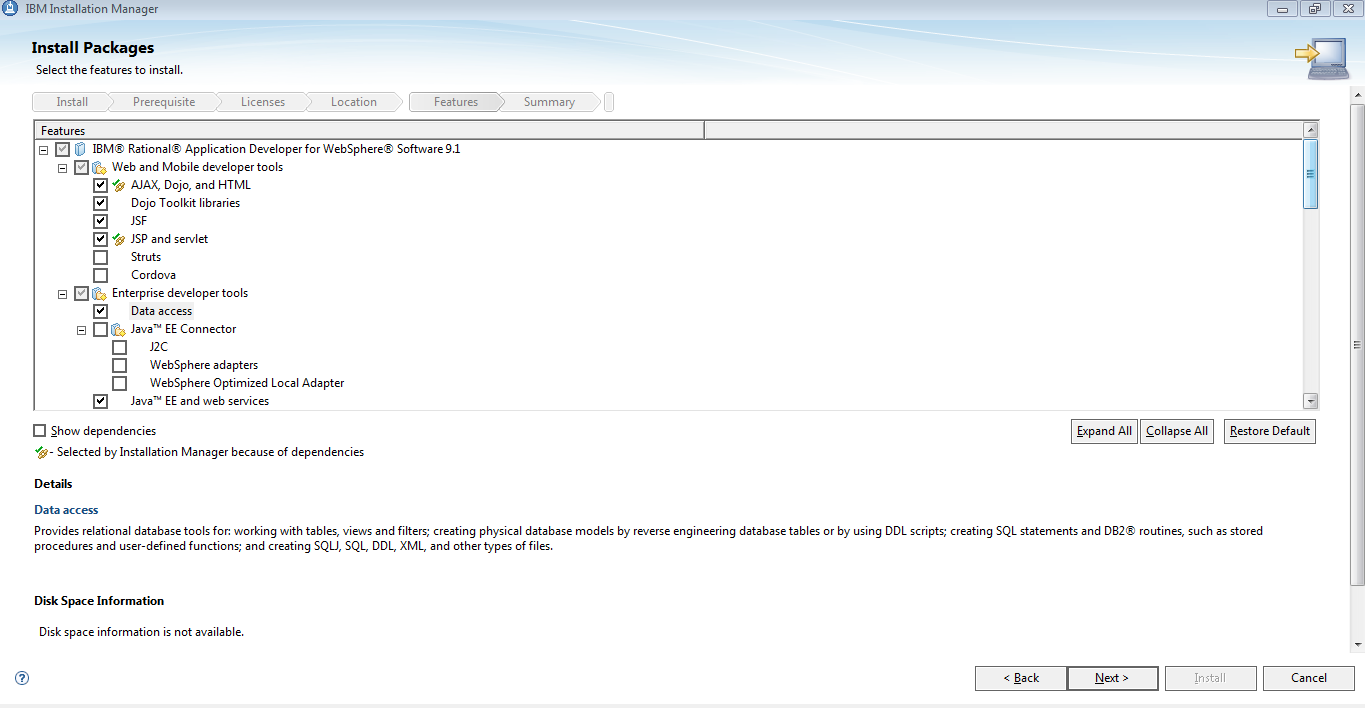
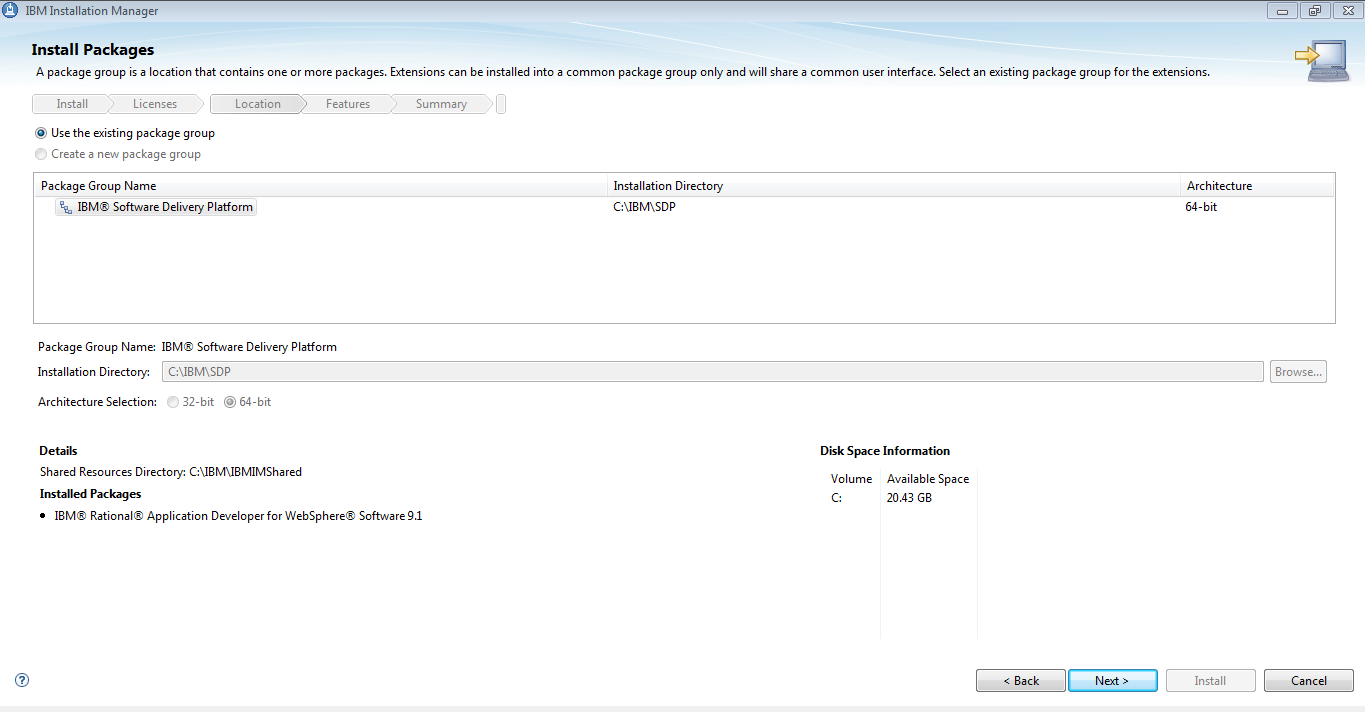
Next Step is to Install RAD ( 9.1)
From Installation Manager
File ->preferences->AddRepository
Provide the path to the diskTag.inf in disk1
C:\MDM Installables\9.1\RAD_WS_9.1_1\RAD\disk1
Edit the path
Scroll Down:
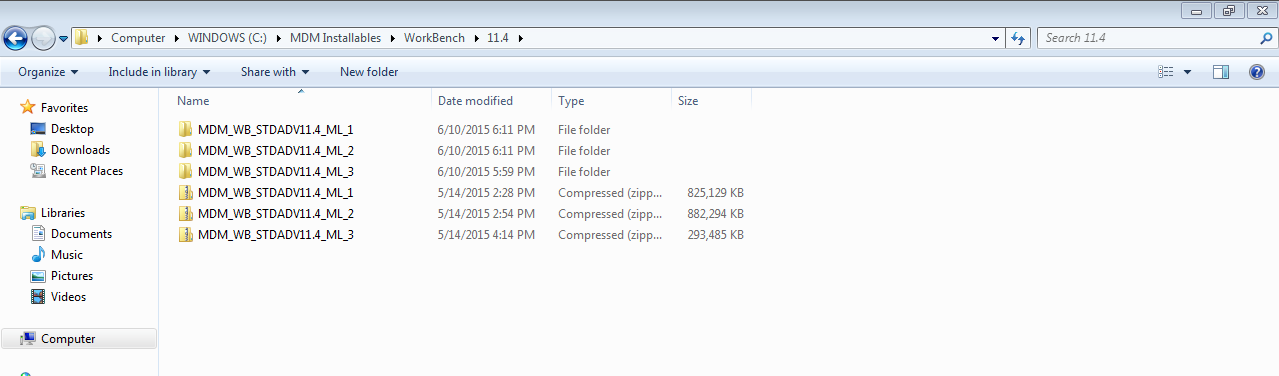
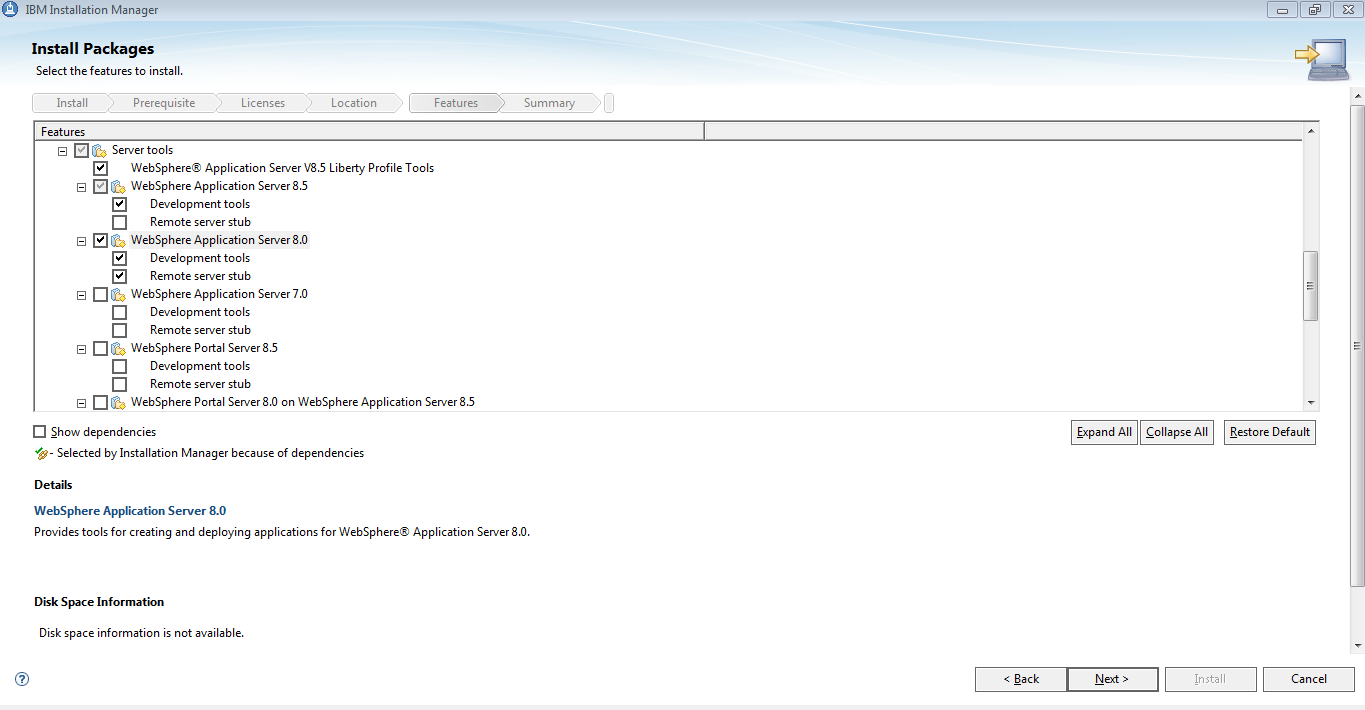
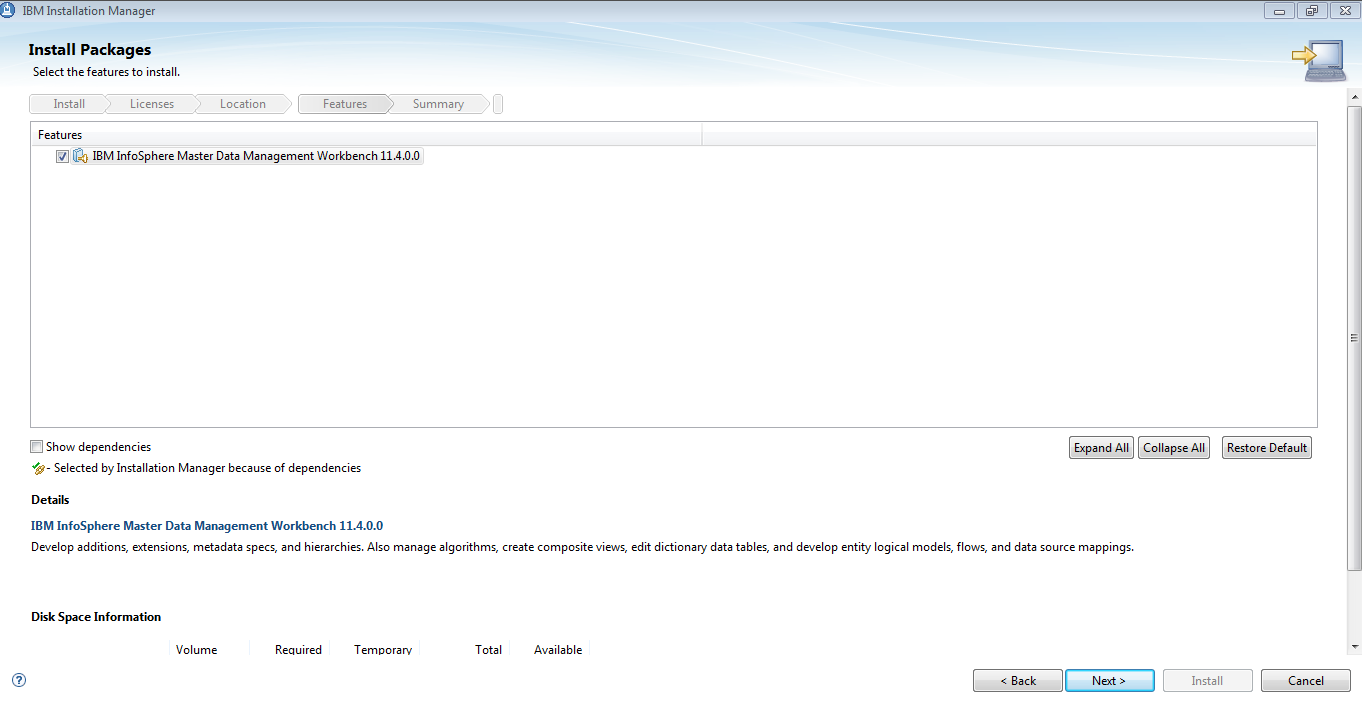
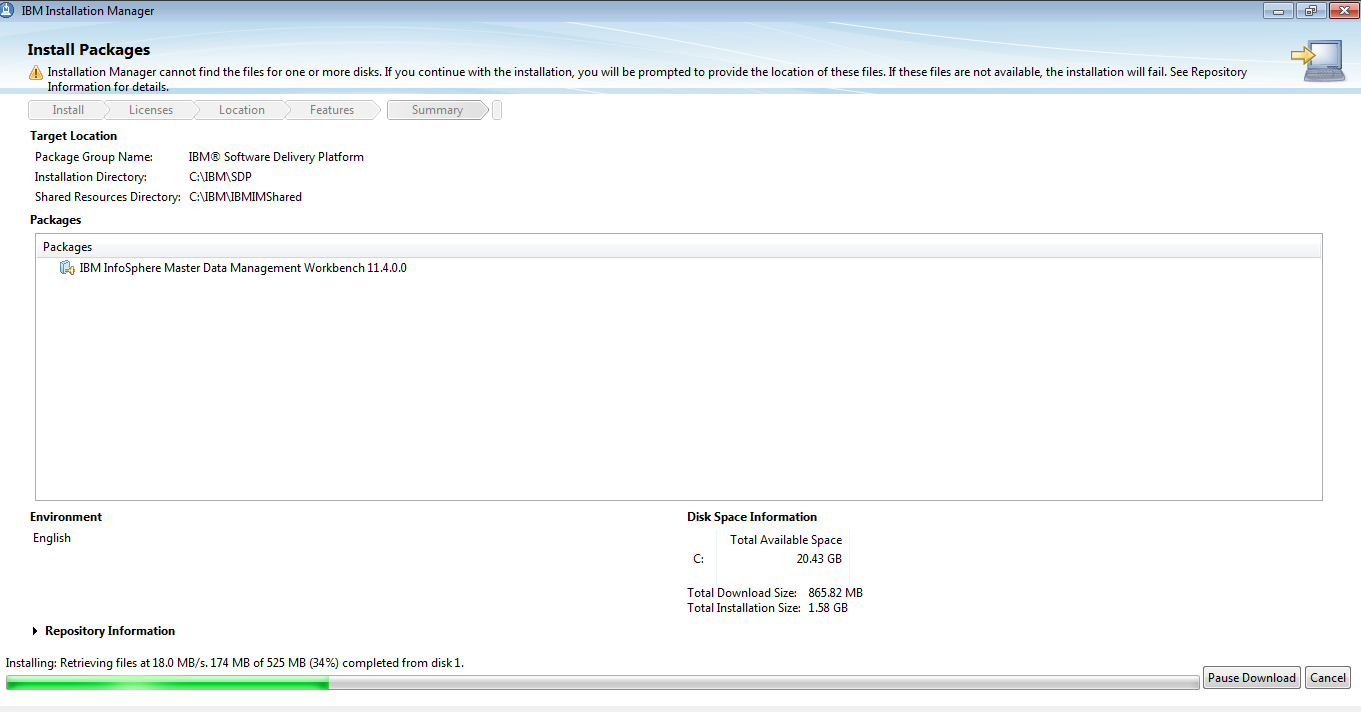
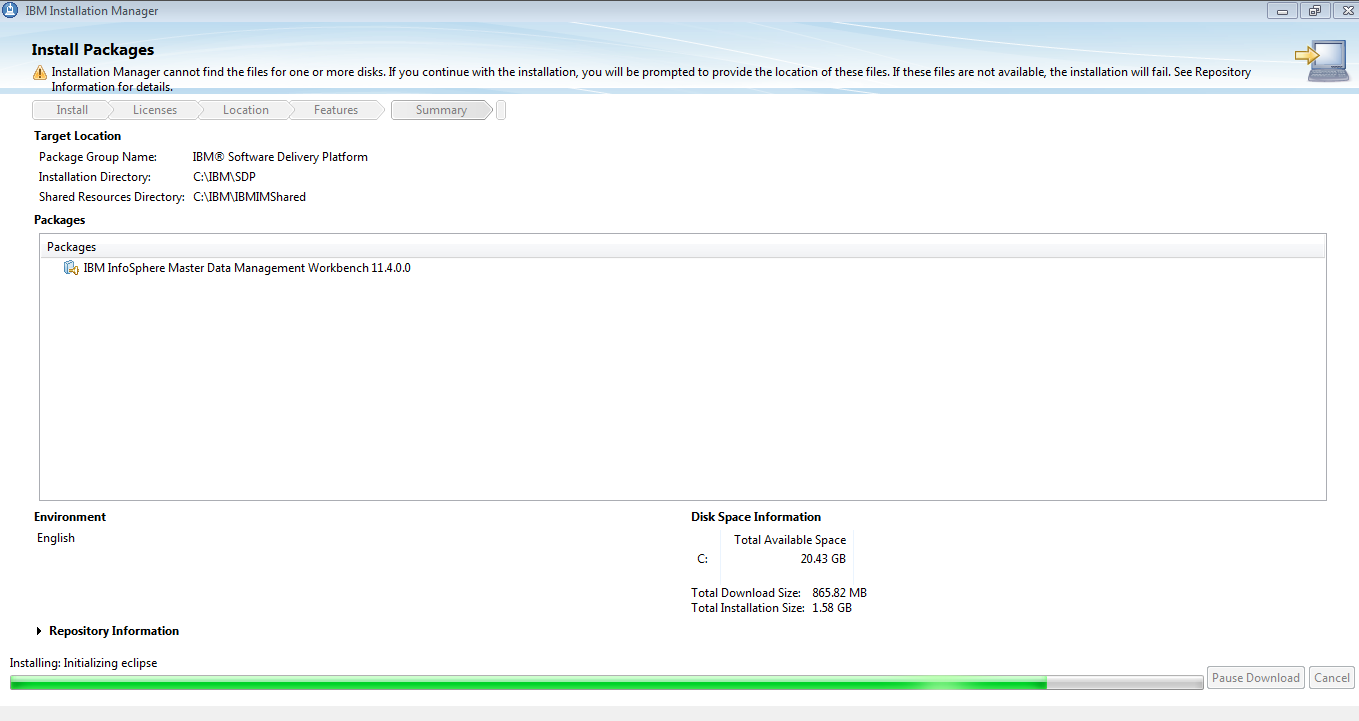
Installing MDM Workbench v 11.4
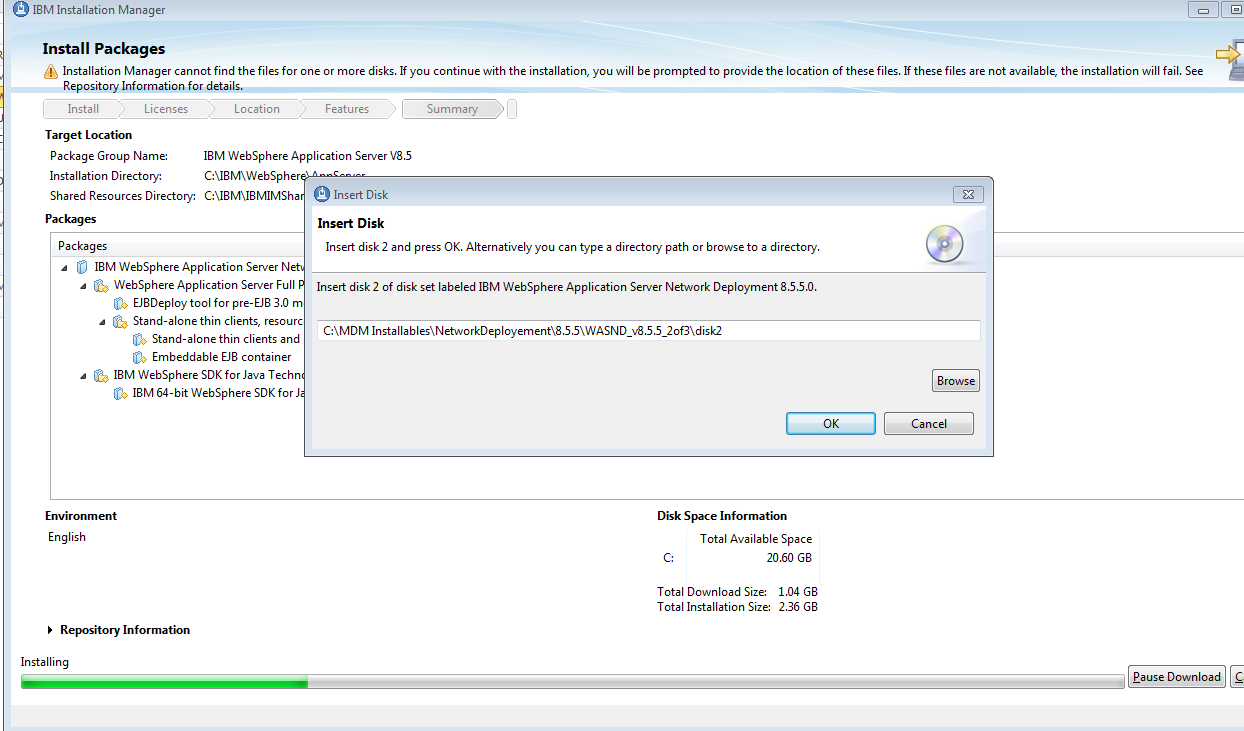
You will get the prompt for disk2 and disk3 of workbench.
For some reason, it asked me for the disk2 of RAD also.Pls provide it when you are being asked ☺.
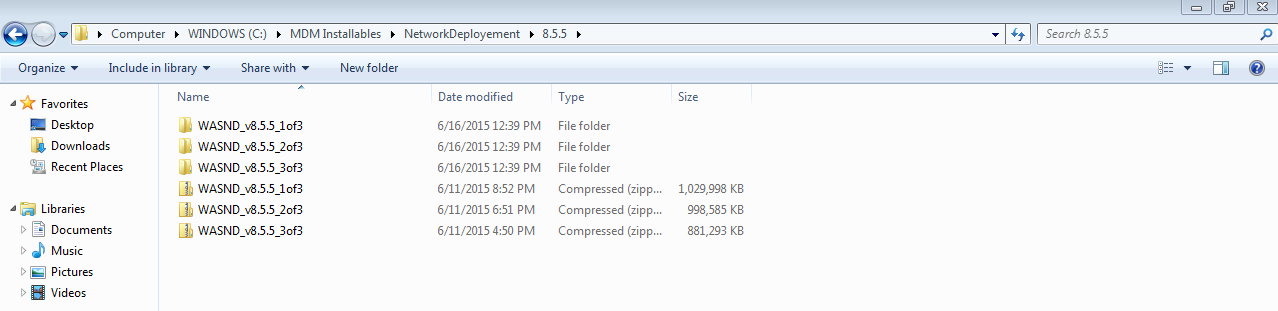
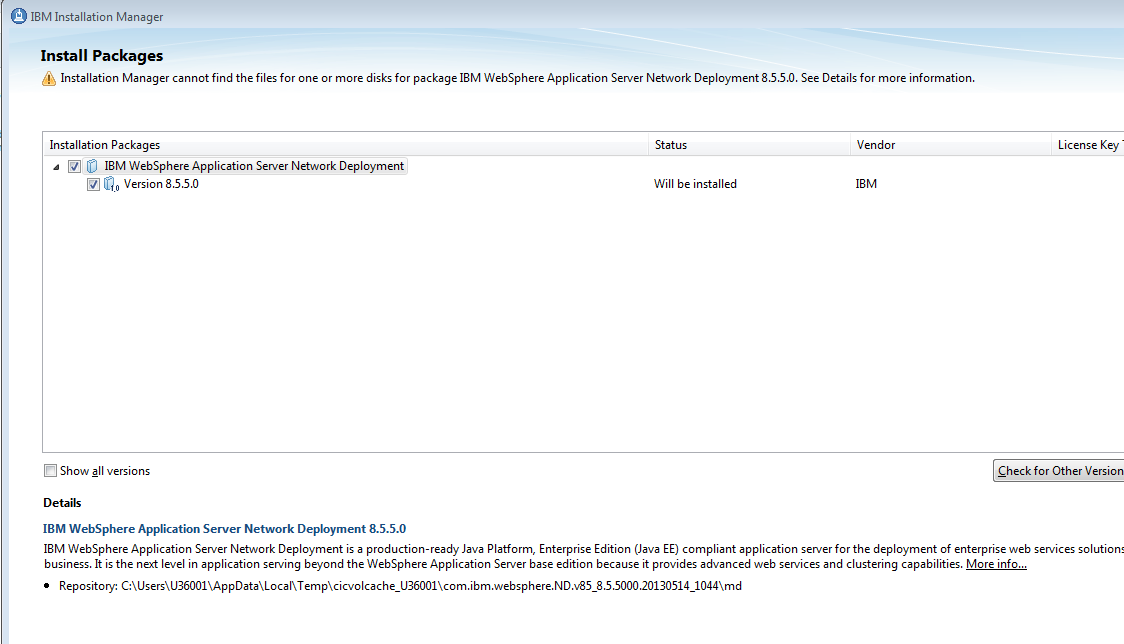
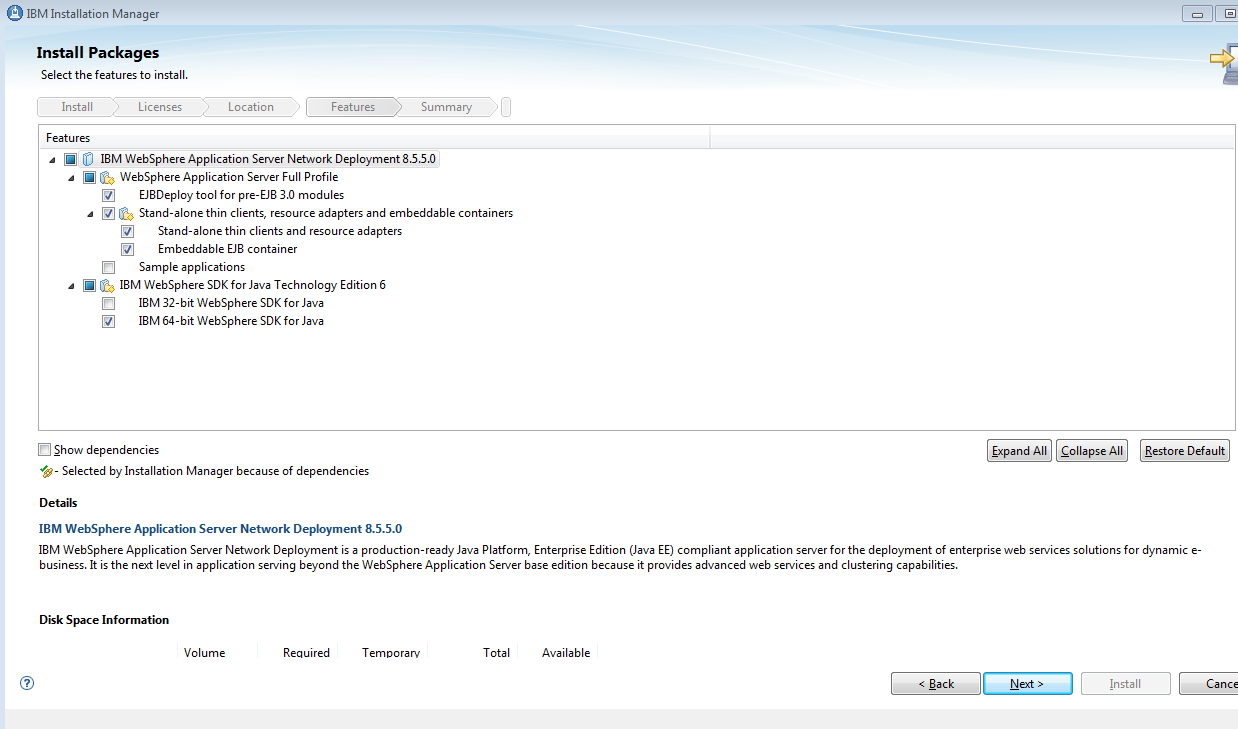
IBM WAS ND 8.5.5
Change path:
Default:
Say OK and click Install
It will ask for disk3 also.
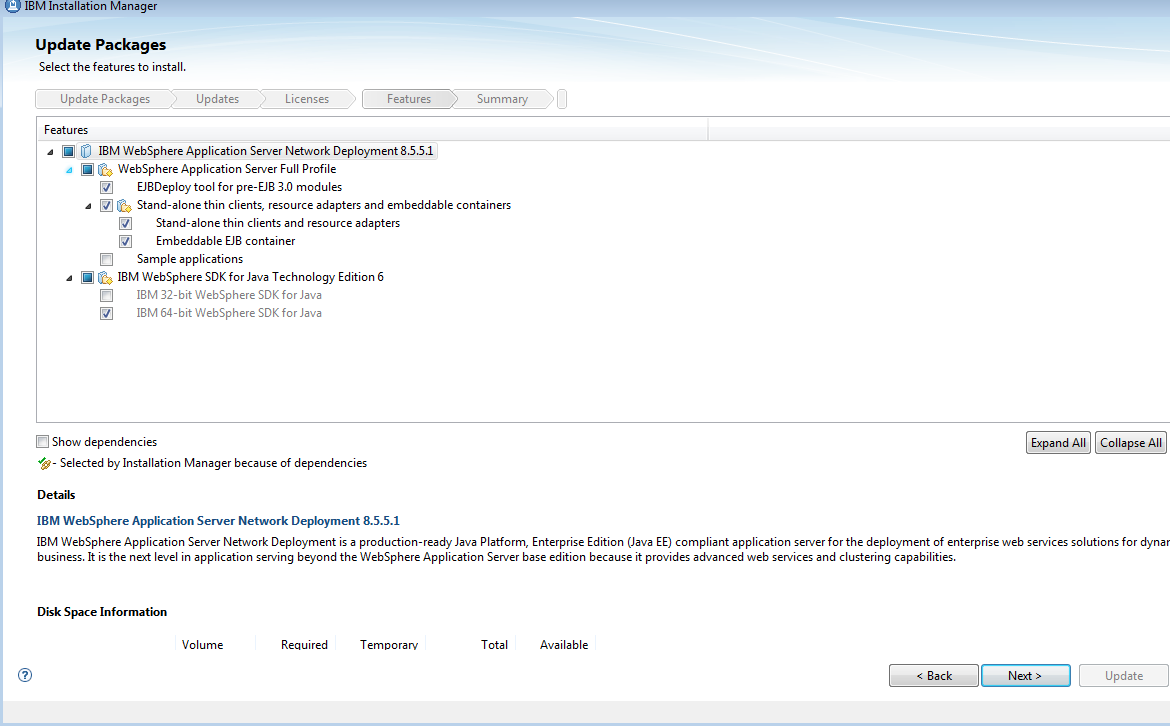
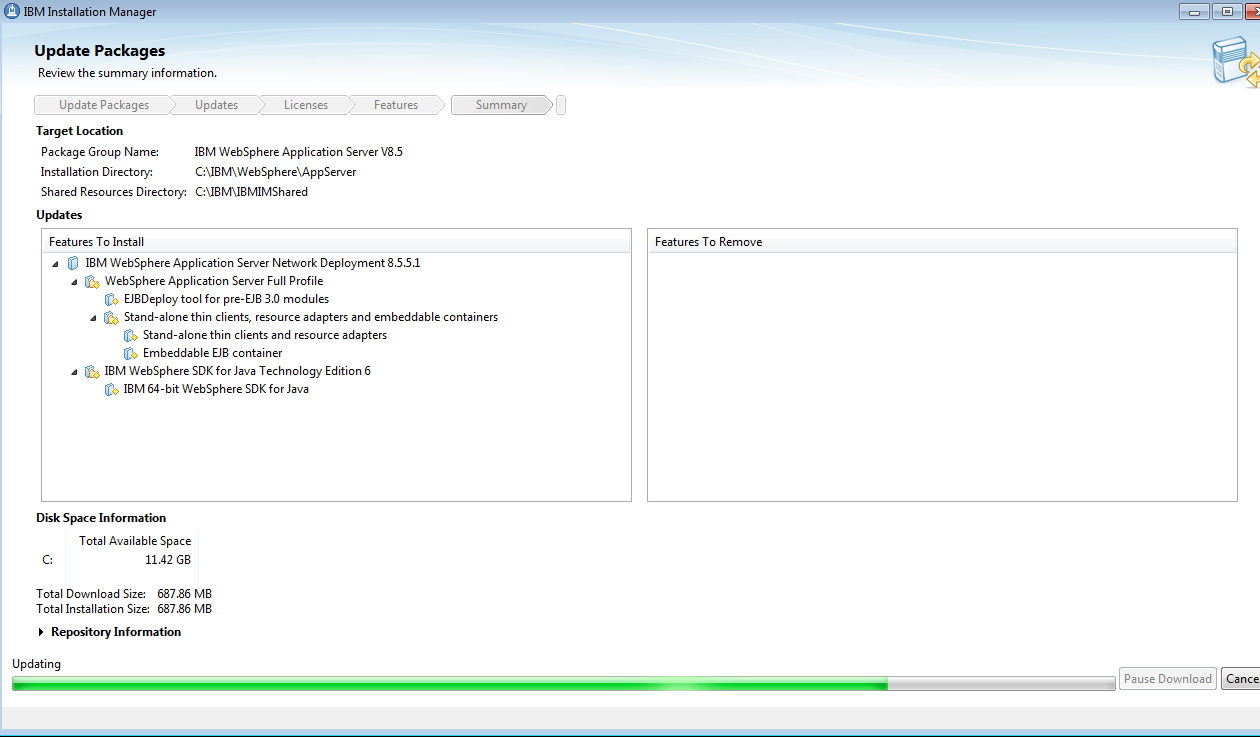
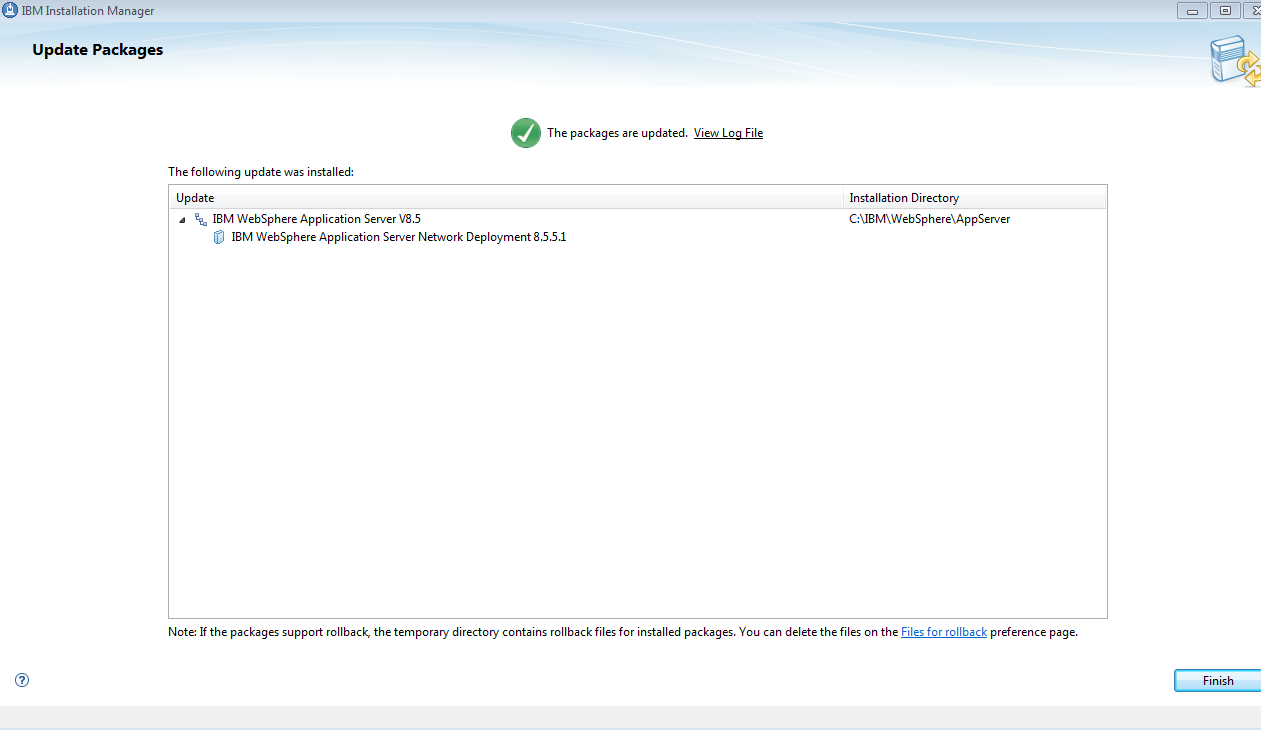
Update WAS FP level to 8.5.5.01
Merge the two folders into one :
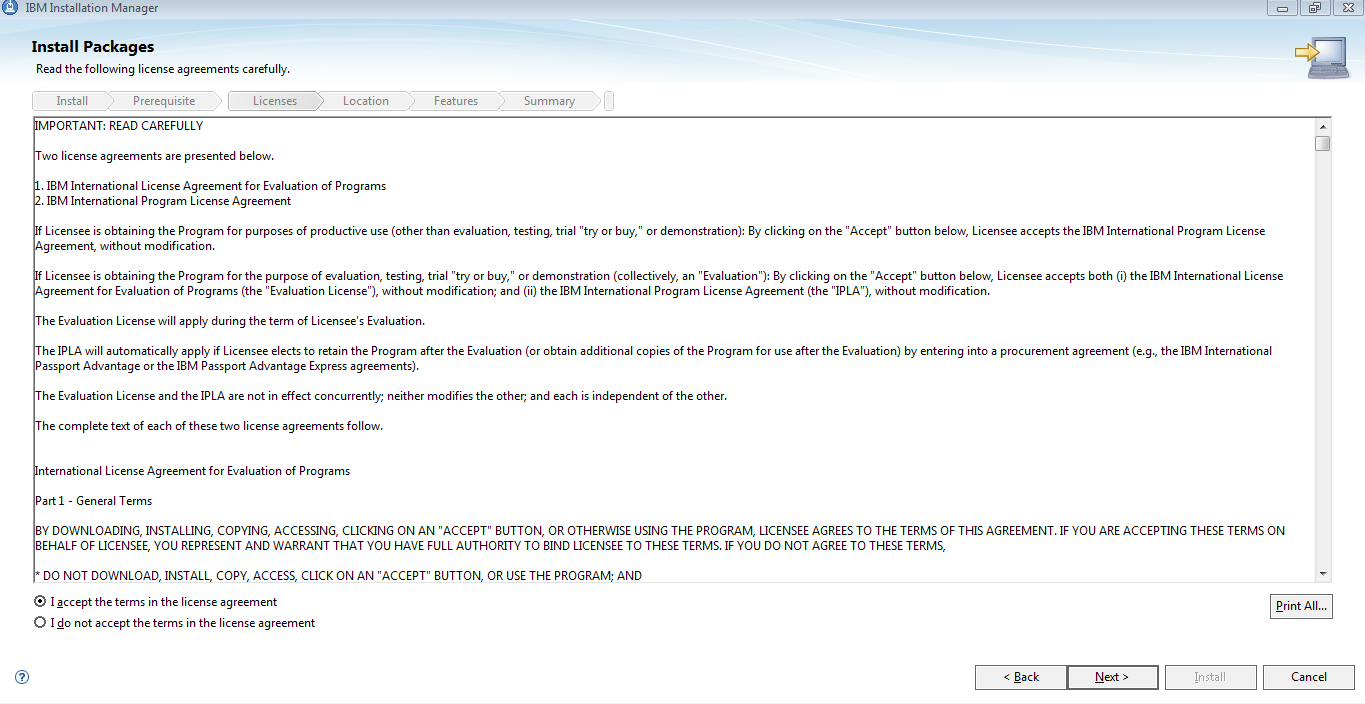
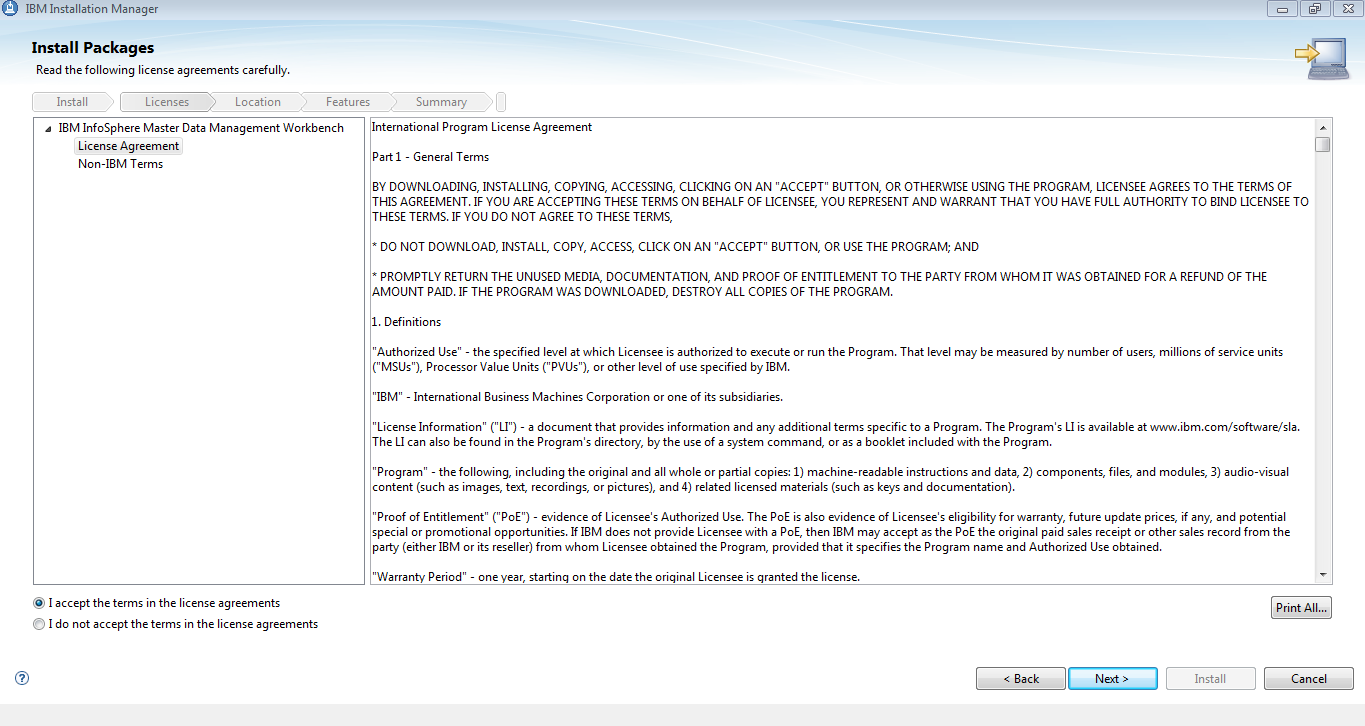
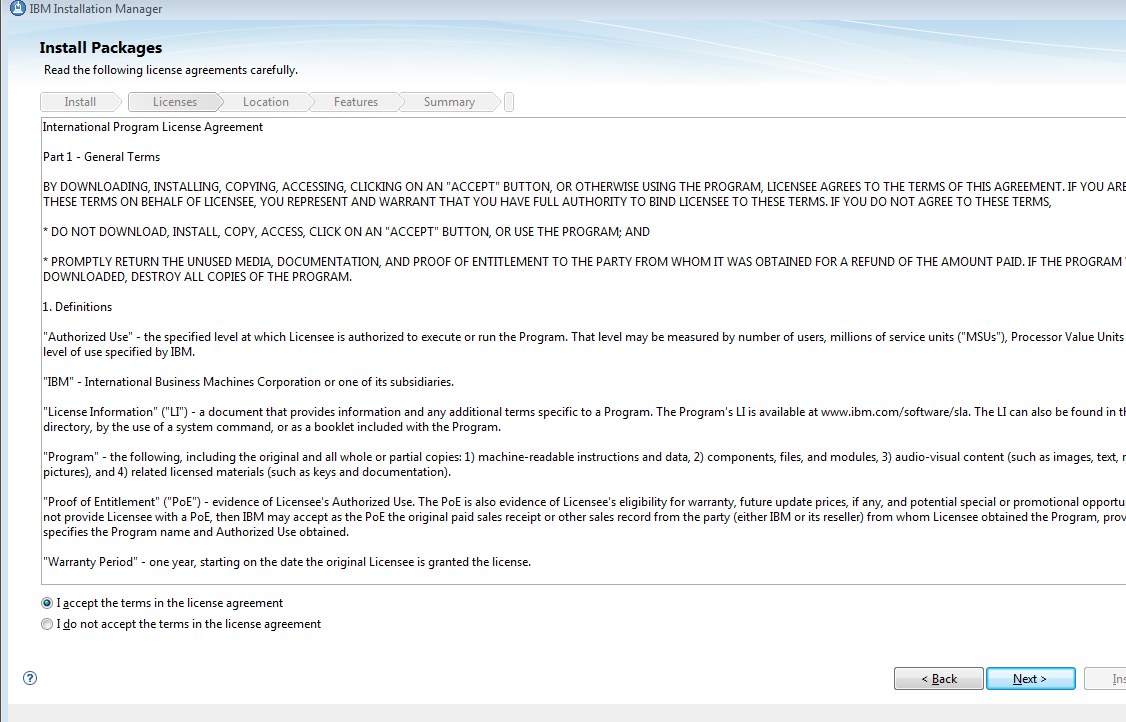
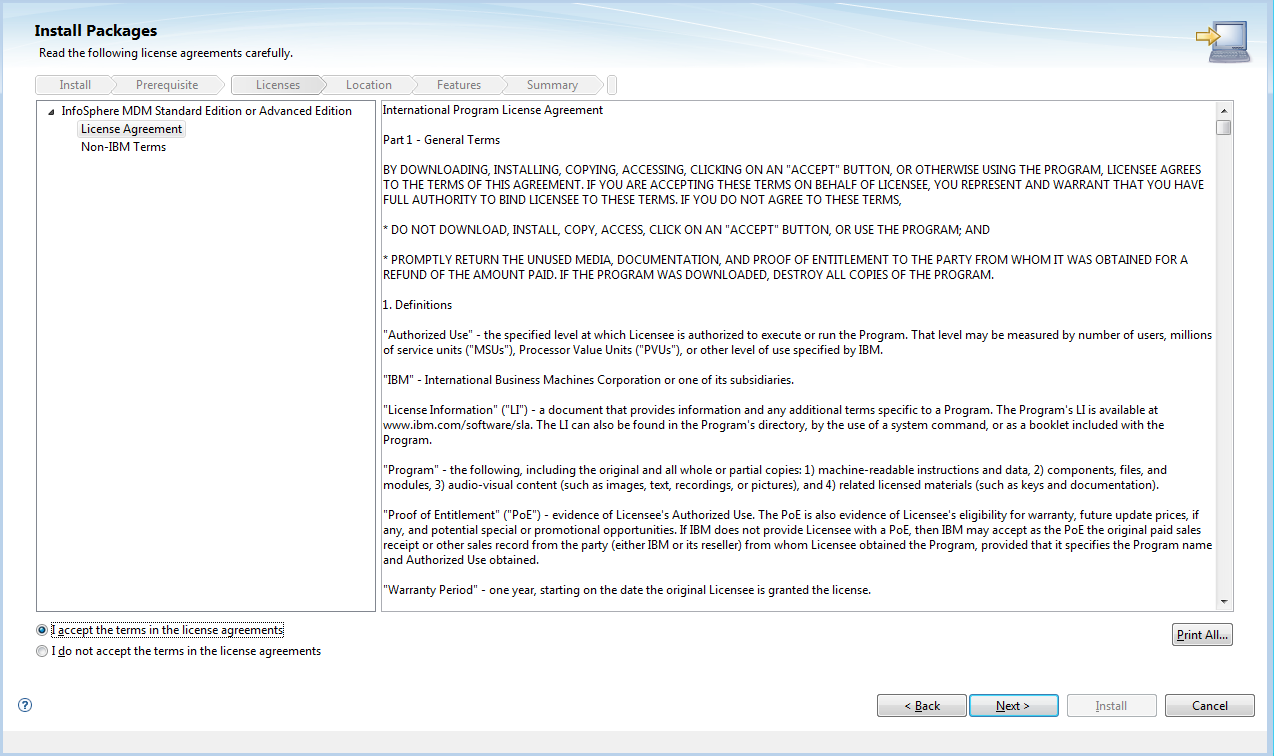
Accept terms
Update:
Follow the same steps for FP 8.5.5.02
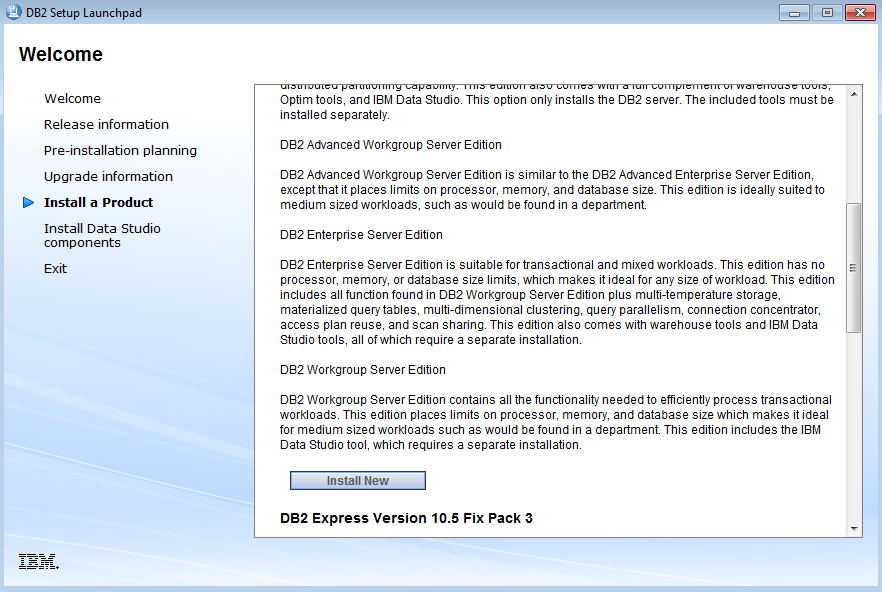
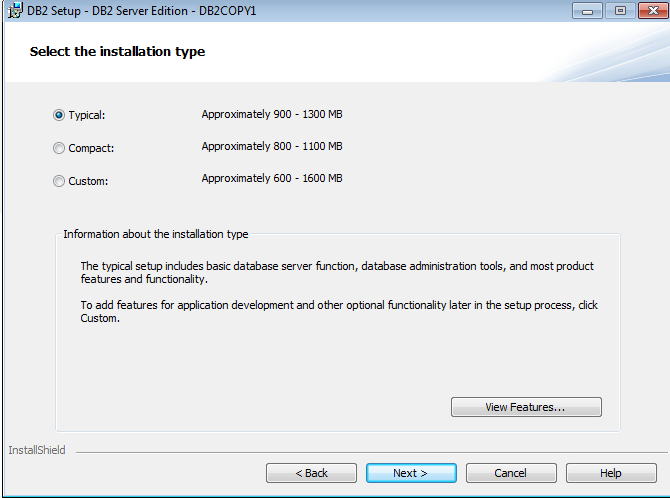
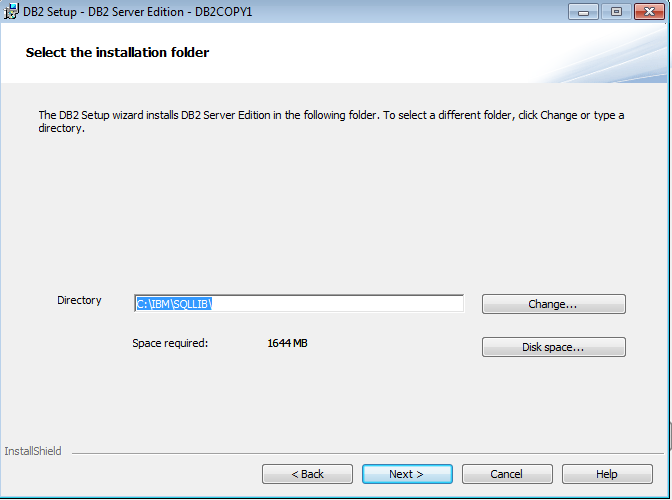
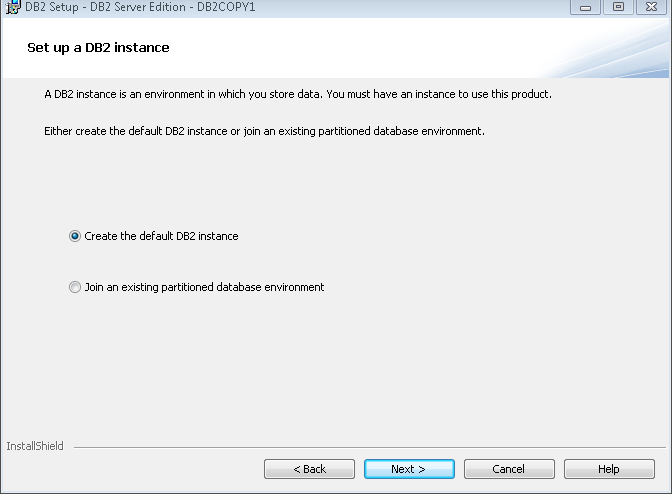
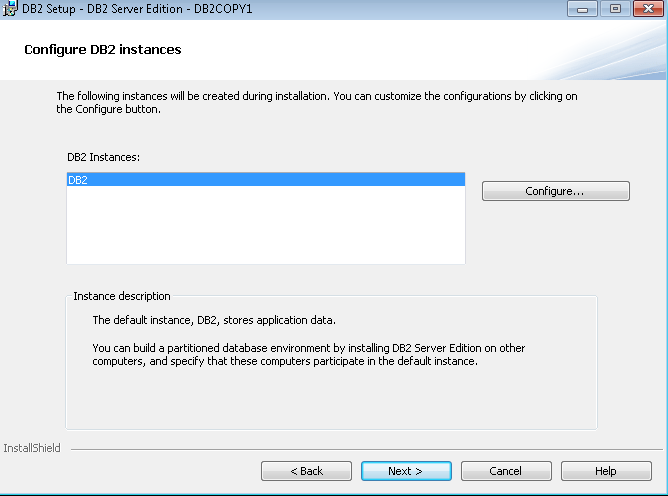
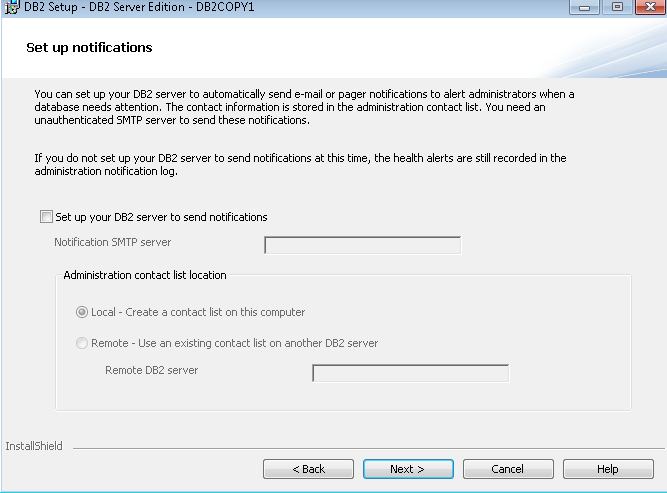
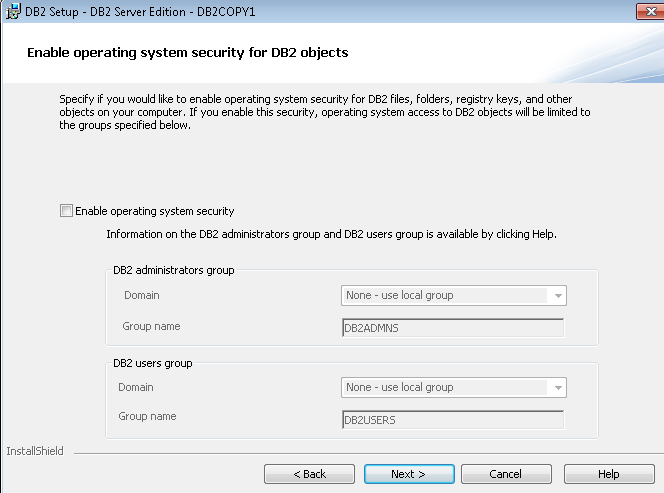
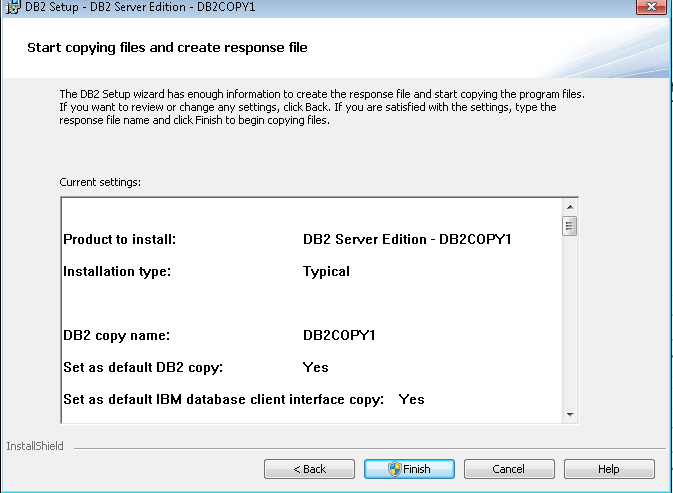
DB2 10.5 ESE Installation (Part Number)
IBM InfoSphere Master Data Management V11.4 - IBM DB2 Enterprise Server Edition V10.5 Multiplatform Multilingual eAssembly
|
CRTR2ML
|
Activation Kit:
IBM DB2 Enterprise Server Edition - Restricted Use - Quick Start and Activation V10.5.0.1 for Linux, UNIX and Windows Multilingual (CIPH4ML
IBM DB2 Enterprise Server Edition - Restricted Use - Quick Start and Activation V10.5.0.1 for Linux, UNIX and Windows Multilingual (CIPH4ML
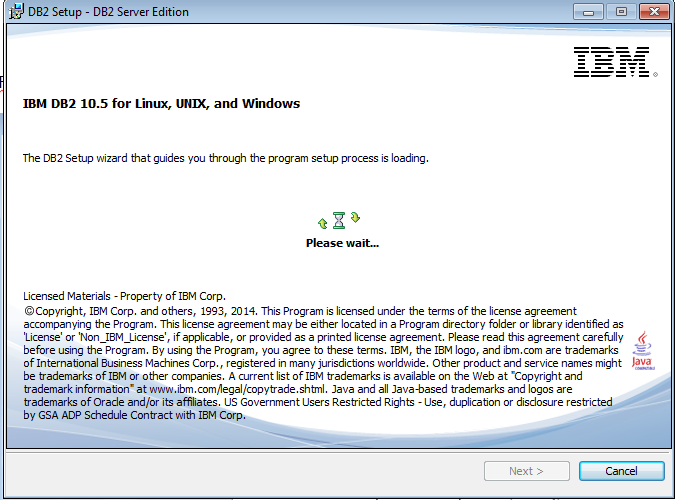
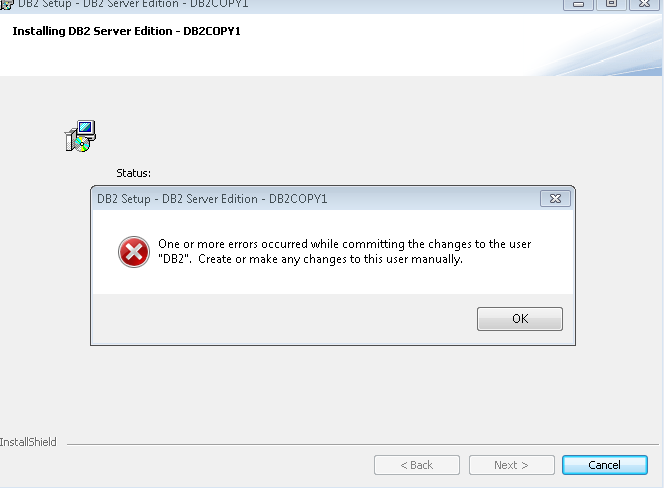
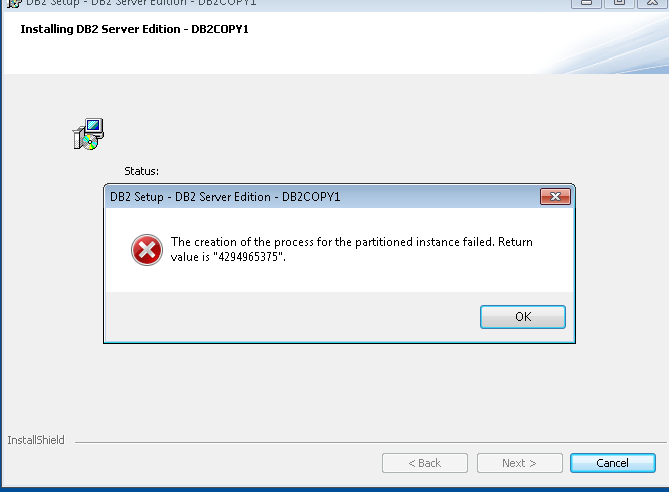
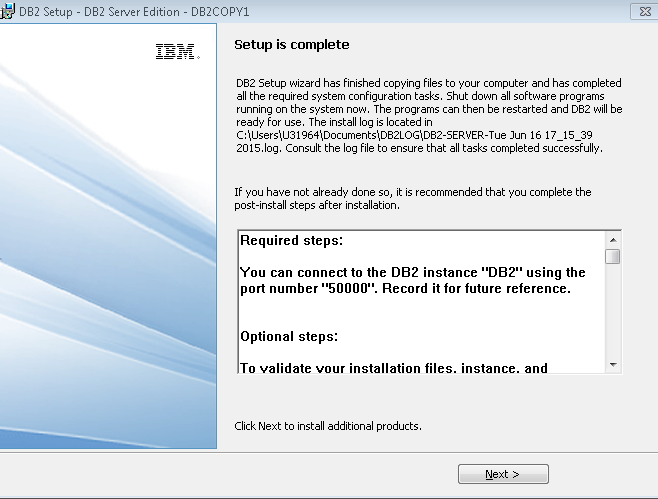
Risht click Setup->Run as administraftor
Use db2admin/db2admin
Note:
I ran the a few commands manually here because of the error I received.(You don’t have to )
It shouldn’t fail if you have proper Admin right.(My org gives only Elevated Rights ☹ )
Open Db2 Command window:
Type:
1)db2icrt db2inst1
2)db2systray
You will notice the green DB2 icon in your systray(Right click ->Start)
I created a sample db2 database from First Steps(will come as part of the installation) or try db2fs from command window.
Everything went fine(db created,I can query from command window etc), but when I connect from RAD to my DB, it throwed me a connection error:
From DB2 Command Window(bin):
db2 UPDATE DBM CFG USING SVCENAME 50000
db2set DB2COMM=TCPIP
db2stop force
db2start
From windows cmd verify :
netstat -na | find "50000"
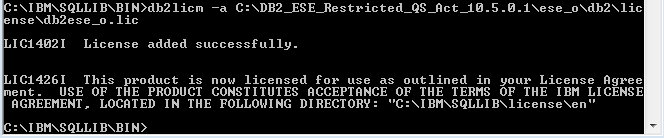
Applying the DB2 licence (DB2_ESE_Restricted_QS_Act_10.5.0.1.zip )
Part Number: CIPH4ML
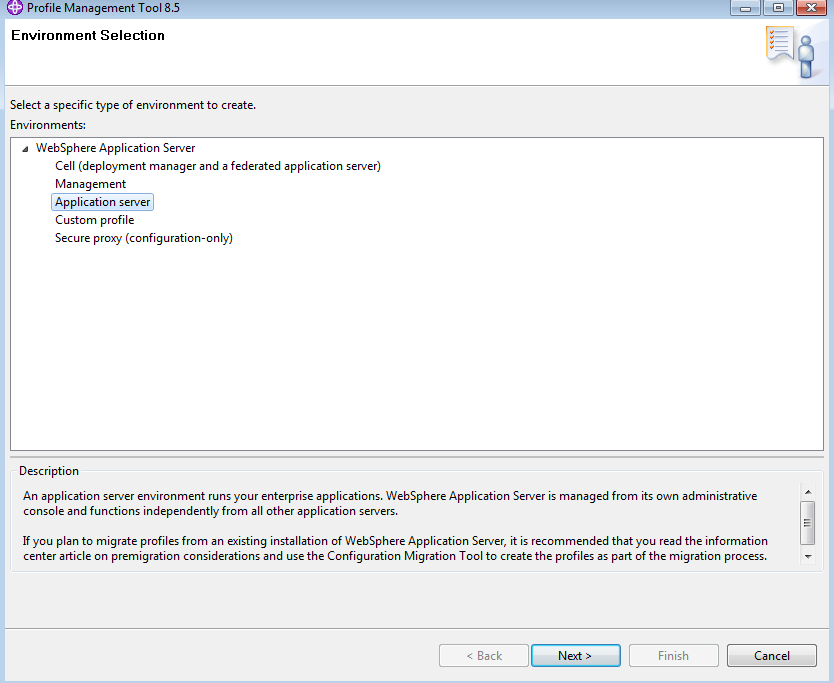
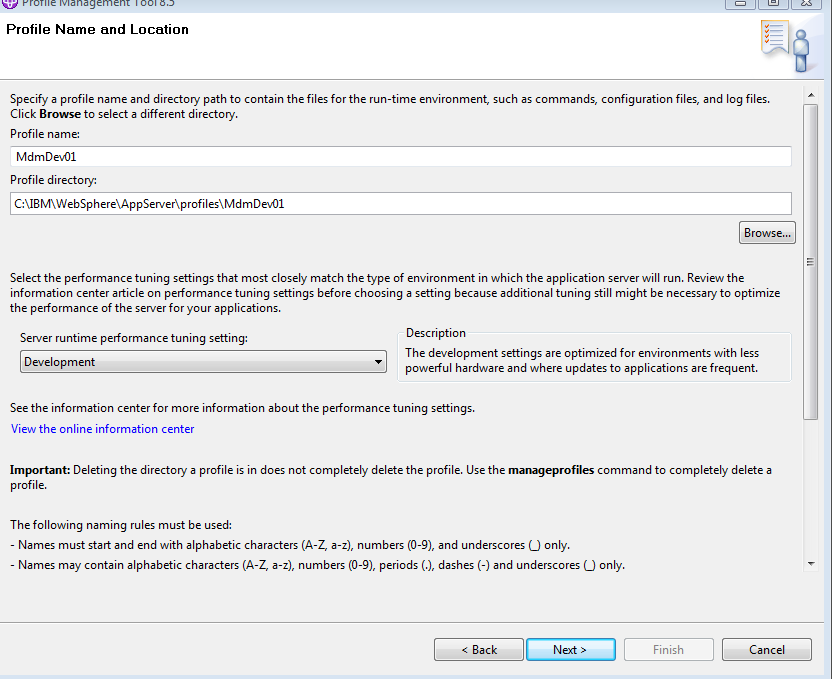
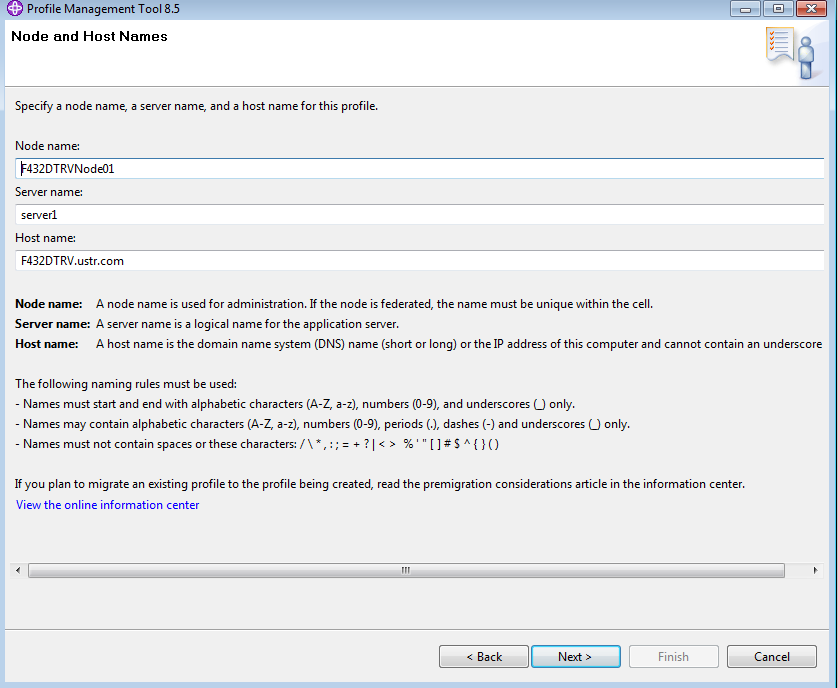
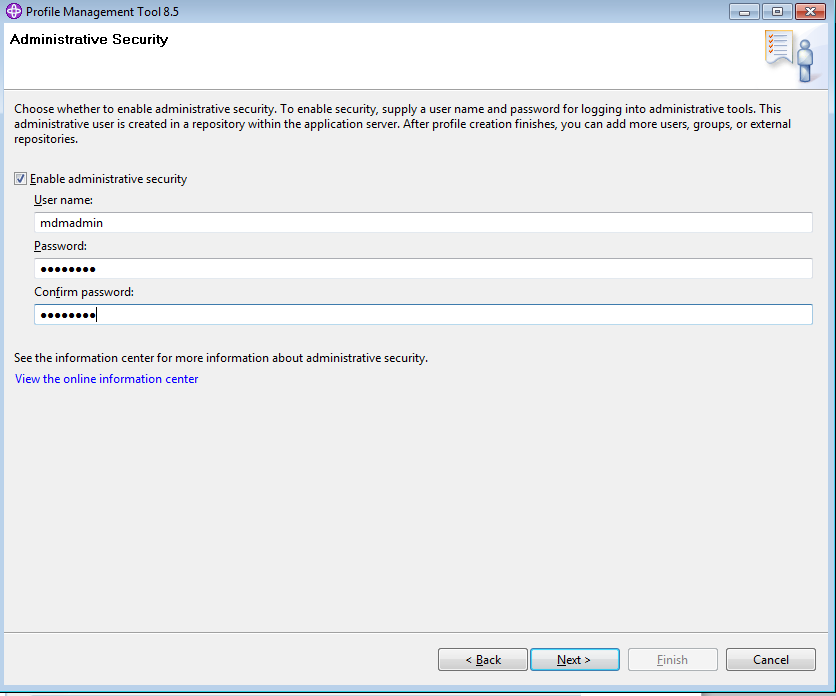
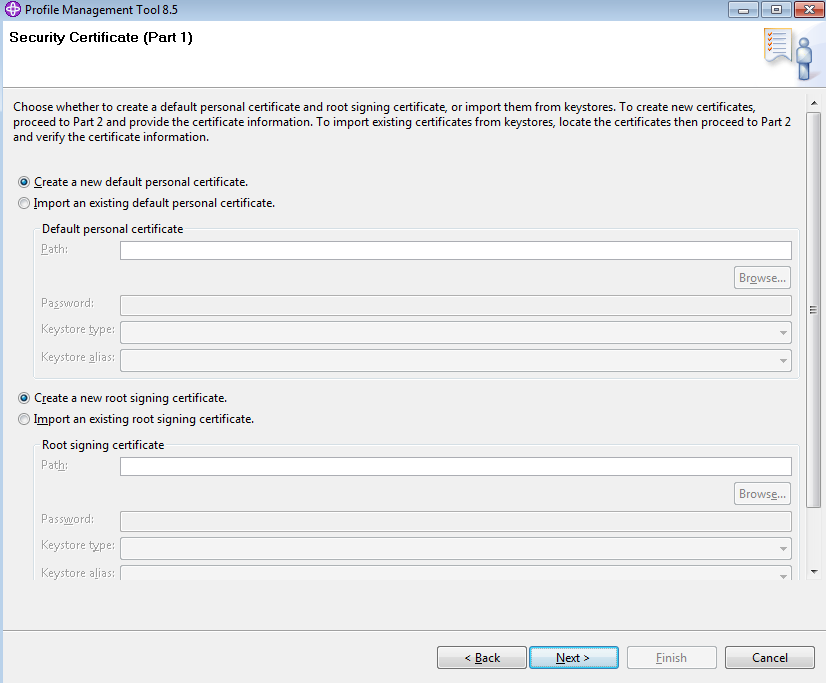
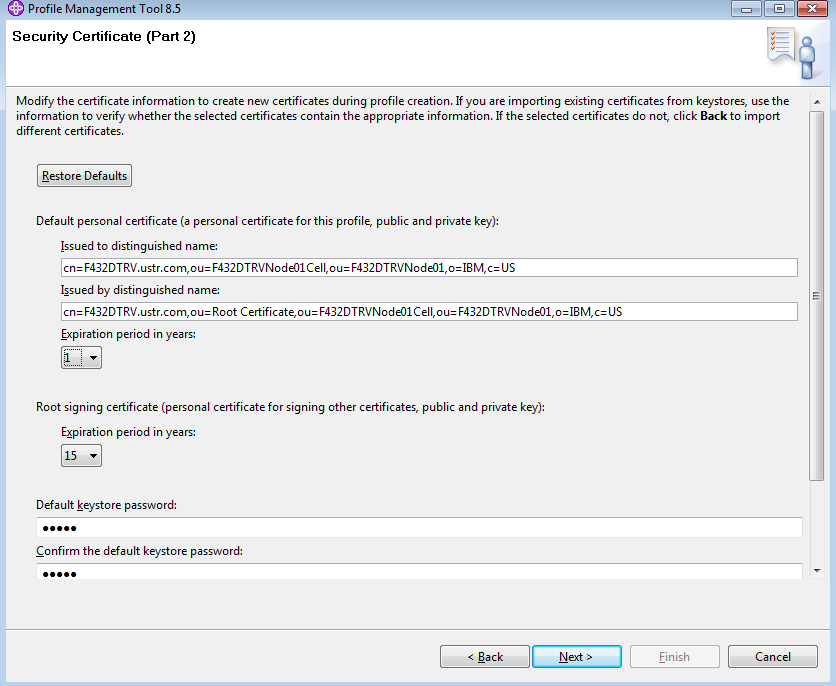
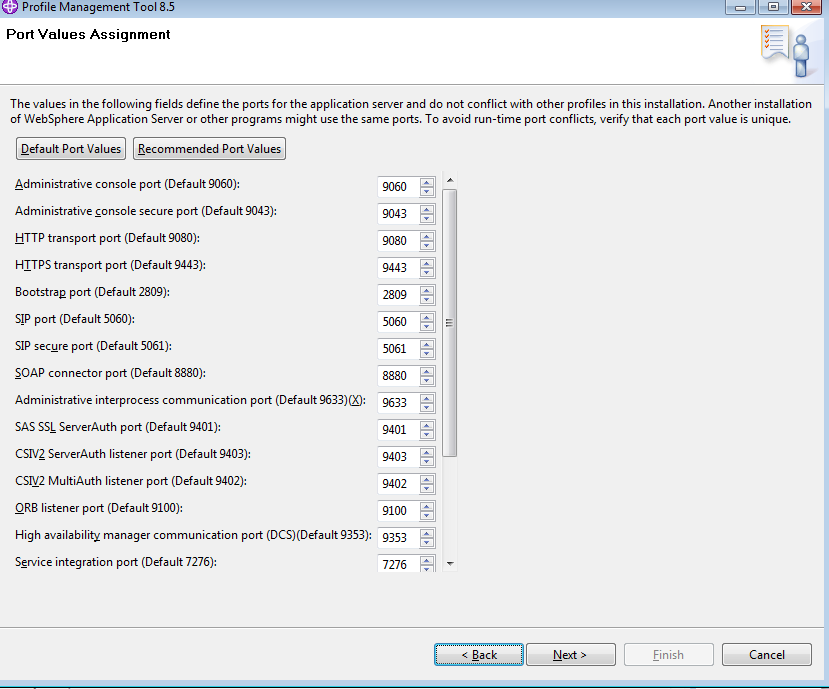
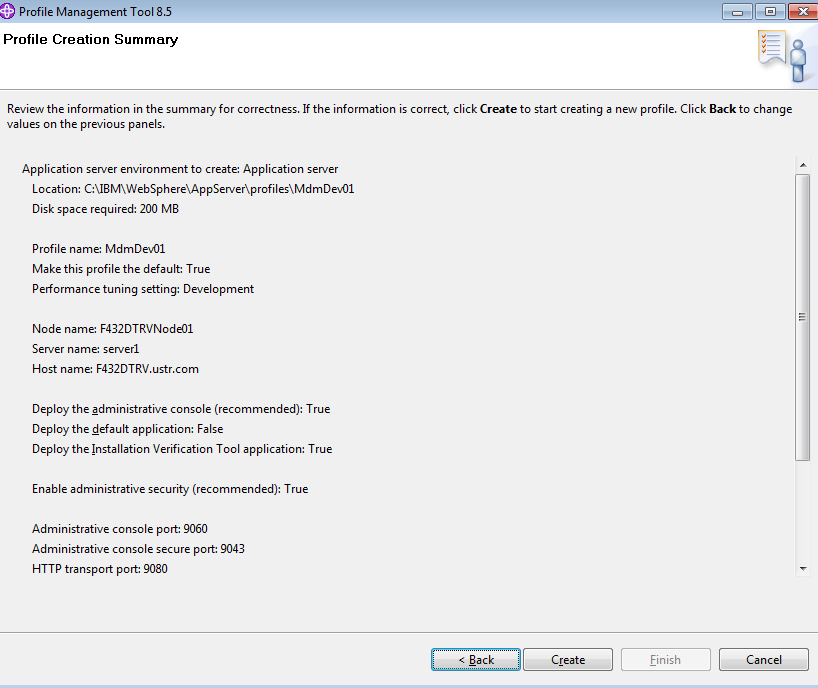
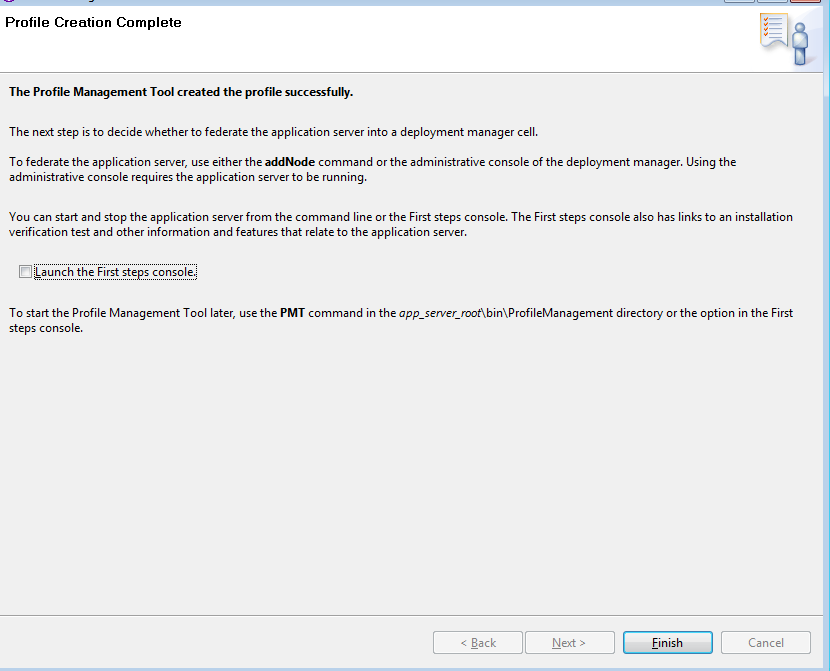
Creating and Configuring WAS Profile
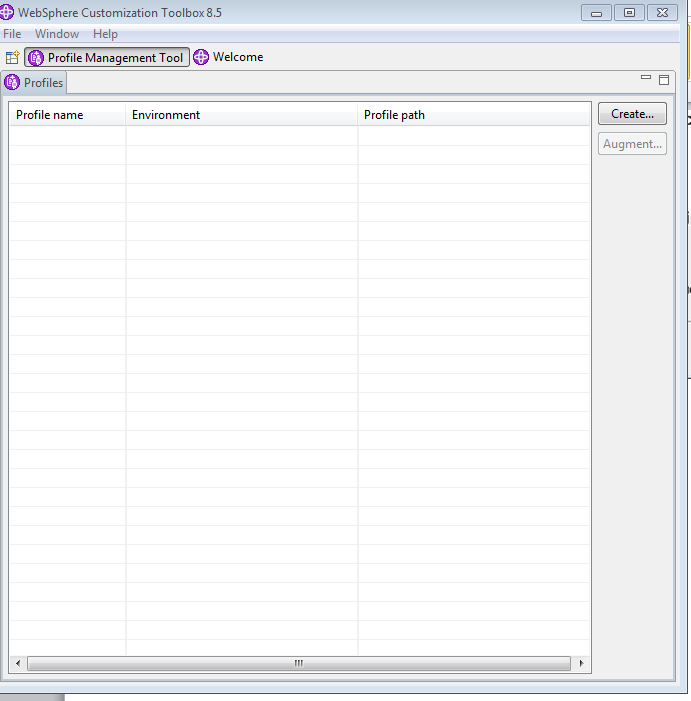
Open the PMT from Start->Type (Profile Management Tool)
Click create :
Use mdmadmin/mdmadmin
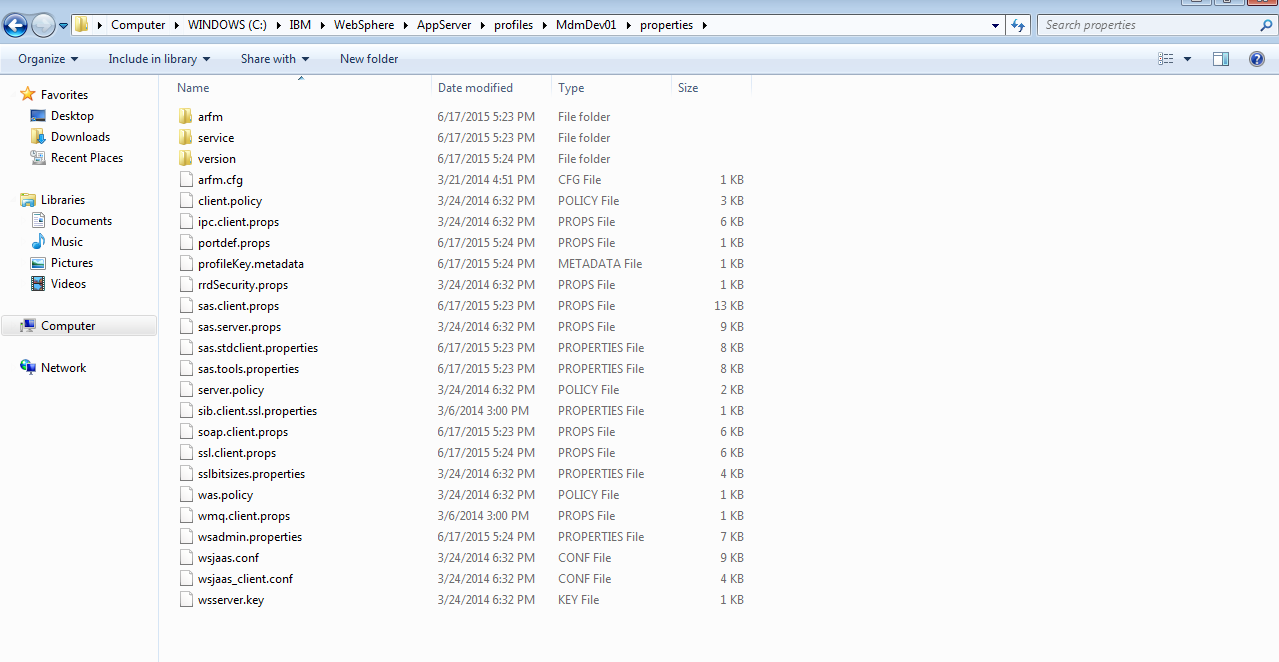
Go to :
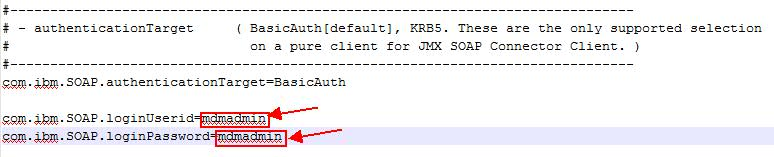
Make the following in sas.client.props and soap.client.props.
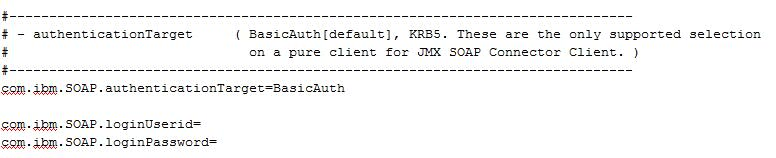
soap.client.props
Edit the proties with to provide Username and Password.
The above properties has to be changed as like following by providing mdmadmin for user name and password.
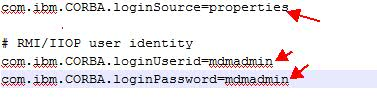
sas.client.props
Edit sas.client.props and change the three lines listed below. (loginSource=properties, userid, and password)
The above given propertis has to be changed like the following
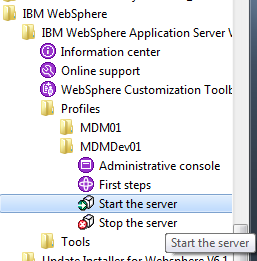
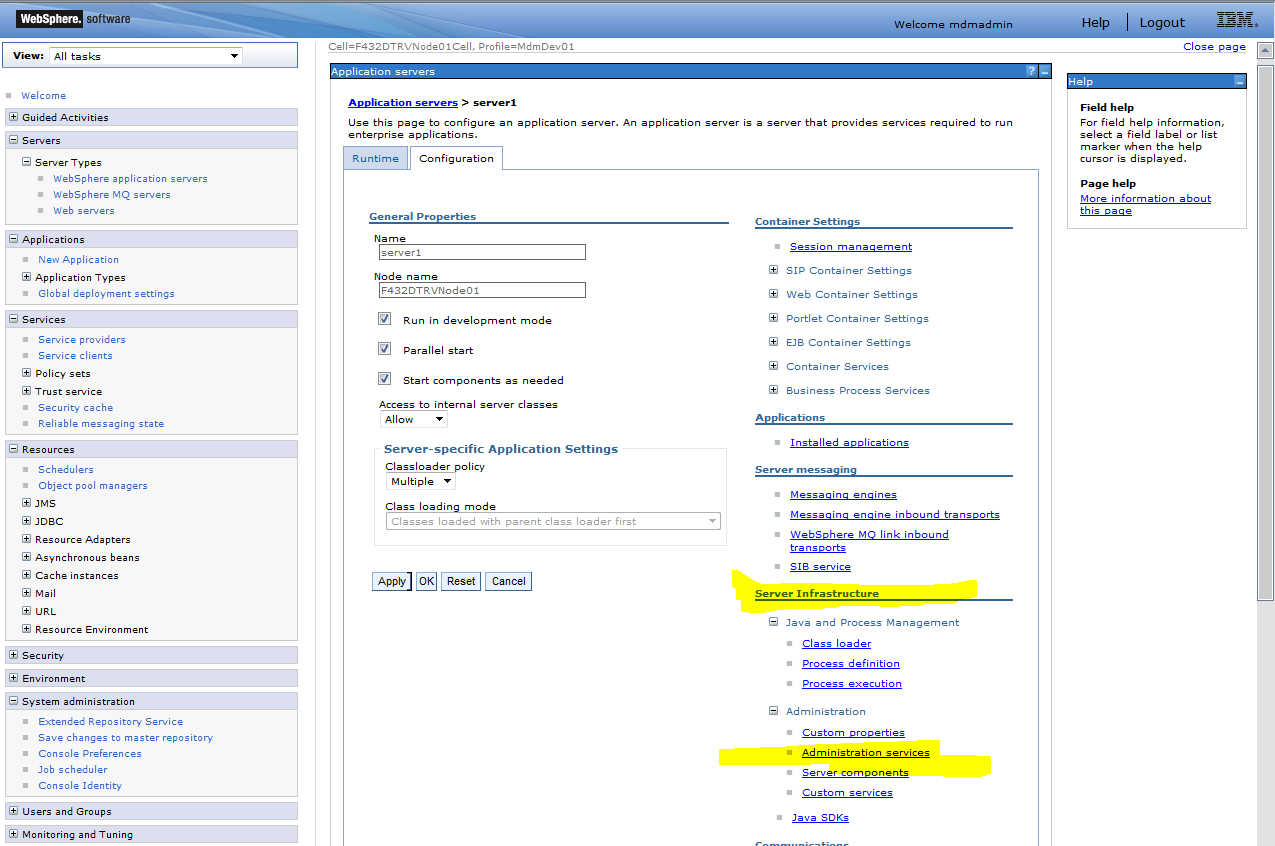
Start the Application server
Once the server is started.
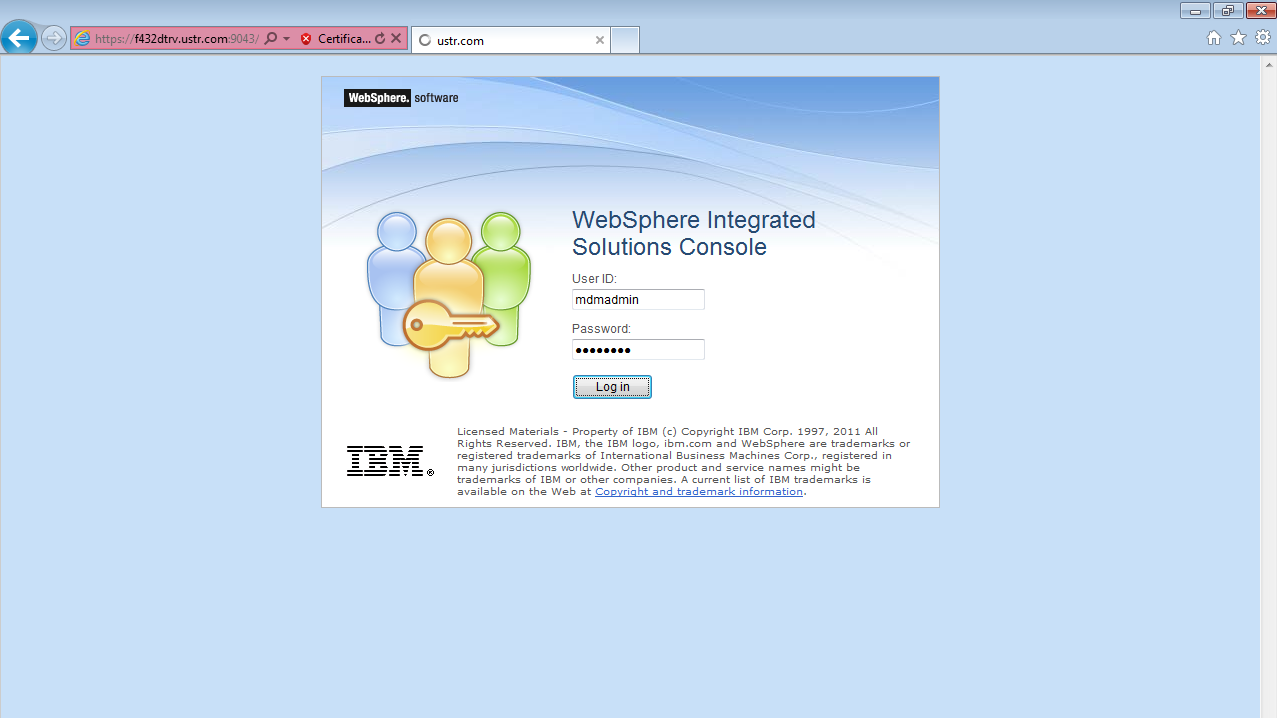
Start the Adminstrative Console.(login with mdmadmin/mdmadmin)
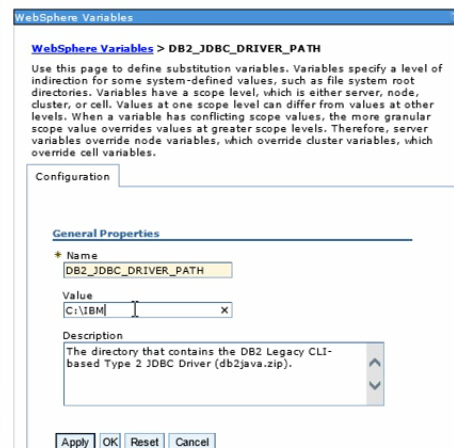
Click Environment->Websphere variables
Set JDBC_DRIVER_PATH (C:\IBM\SQLLIB) . Don’t give till SQLLIB
Select “Environments” → “Websphere variables” and set the value for DB2 JDBC Driver Path
Apply and Save.
Set the heap size values min as 1024 and max as 2048 in JVM (Java Virtual Machine)
Apply & save
Apply, Save directly to Master configuration.
MDM StartUp Toolkit
This provides the scripts required to create an MDM database.
StartUpToolKit should be available in the disk1
C:\MDM Installables\11.4\MDM_STD_ADV_11.4_ML_1\MDM\disk1\StartUpToolkit.
Edit SQL files
There are a couple of SQL files provided in the startup toolkit for creating an MDM database on DB2:
- CoreData\Full\DB2\Standard\ddl\CreateDB.sql
- CoreData\Full\DB2\Standard\ddl\CreateTS.sql
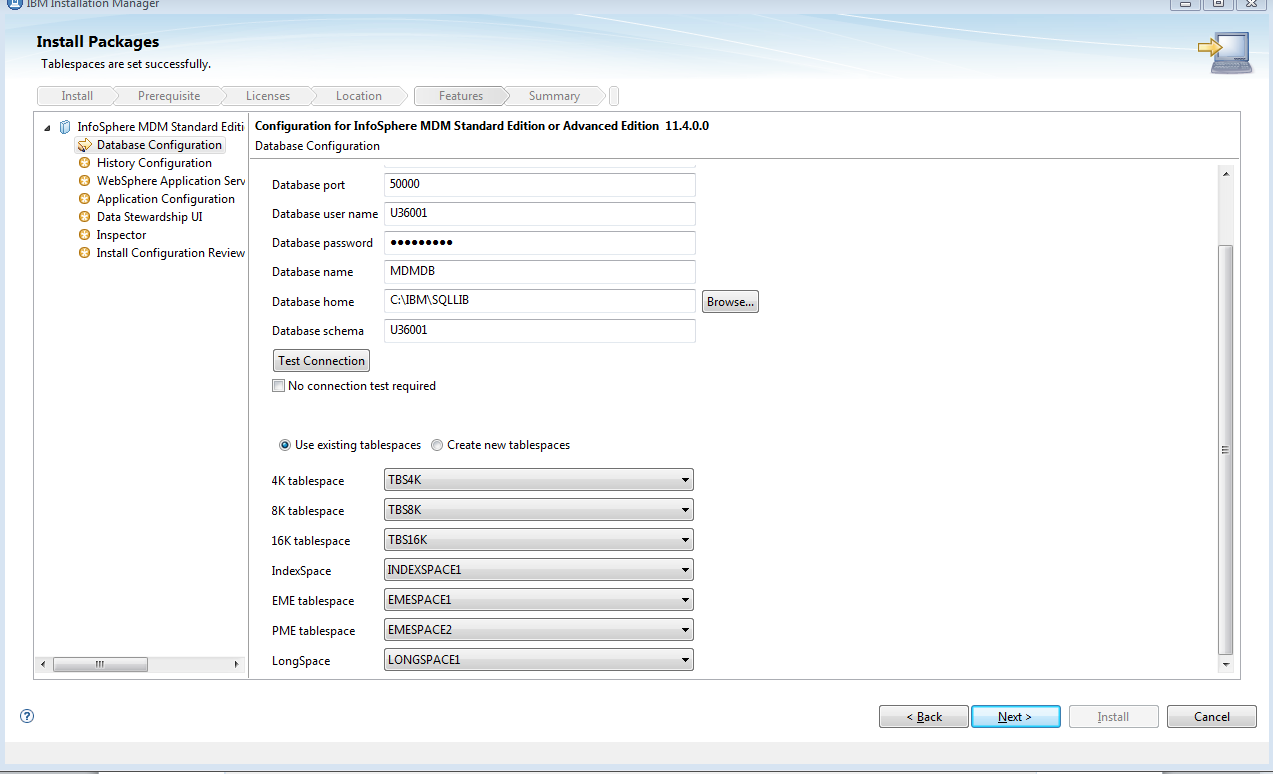
Both these files contain placeholders which need to be replaced with suitable values before use. These are the values I used:
Placeholder
|
Value
|
MDMDB
| |
US
| |
db2admin/U36001
| |
TBS4K
| |
TBS8K
| |
TBS16K
| |
INDEXSPACE1
| |
LONGSPACE1
| |
EMESPACE1
| |
EMESPACE2
|
Create database
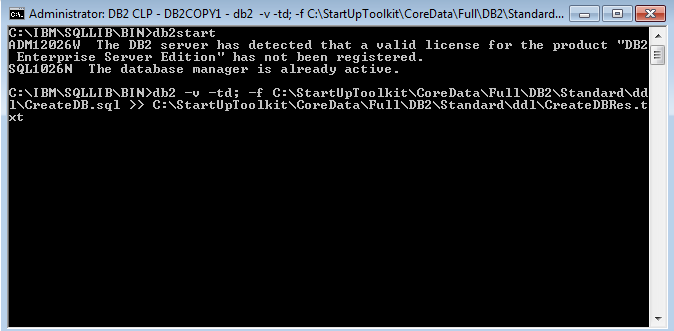
After editing the SQL files, I ran them using this command in a DB2 Command Window:
Note: I copied the StartUpToolkit folder to my C:\(just so that I can play around without touching the actual ones)
db2 -v -td; -f C:\StartUpToolkit\CoreData\Full\DB2\Standard\ddl\CreateDB.sql >> C:\StartUpToolkit\CoreData\Full\DB2\Standard\ddl\CreateDBRes.txt
Run the CreateTS.sql also.
db2 -v -td; -f C:\StartUpToolkit\CoreData\Full\DB2\Standard\ddl\CreateTS.sql >> C:\StartUpToolkit\CoreData\Full\DB2\Standard\ddl\CreateTSRes.txt
Verify the logs.
I received the following errors:
GRANT CREATETAB,BINDADD,CONNECT,CREATE_NOT_FENCED,IMPLICIT_SCHEMA,LOAD ON DATABASE TO USER U36001
DB21034E The command was processed as an SQL statement because it was not a
valid Command Line Processor command. During SQL processing it returned:
SQL0554N An authorization ID cannot grant a privilege or authority to itself.
SQLSTATE=42502
But I think they are fine.
MDM Operational Server Installation
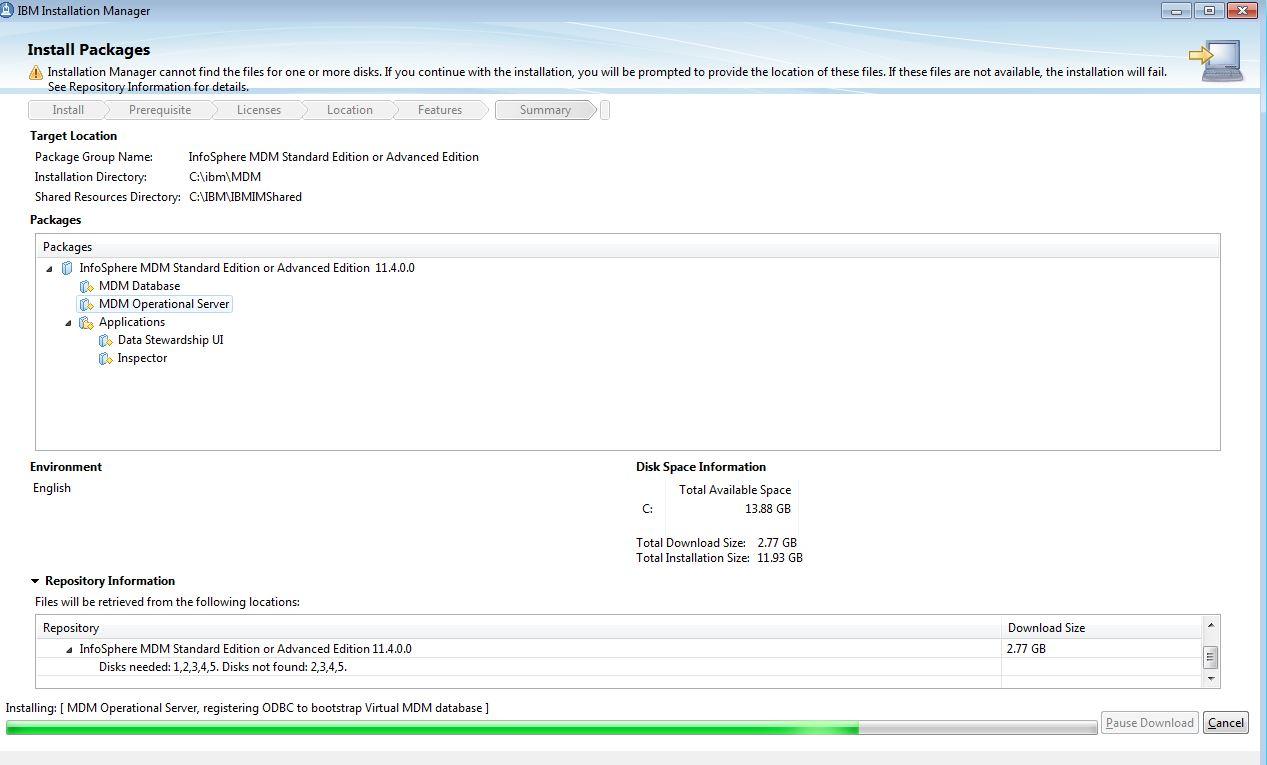
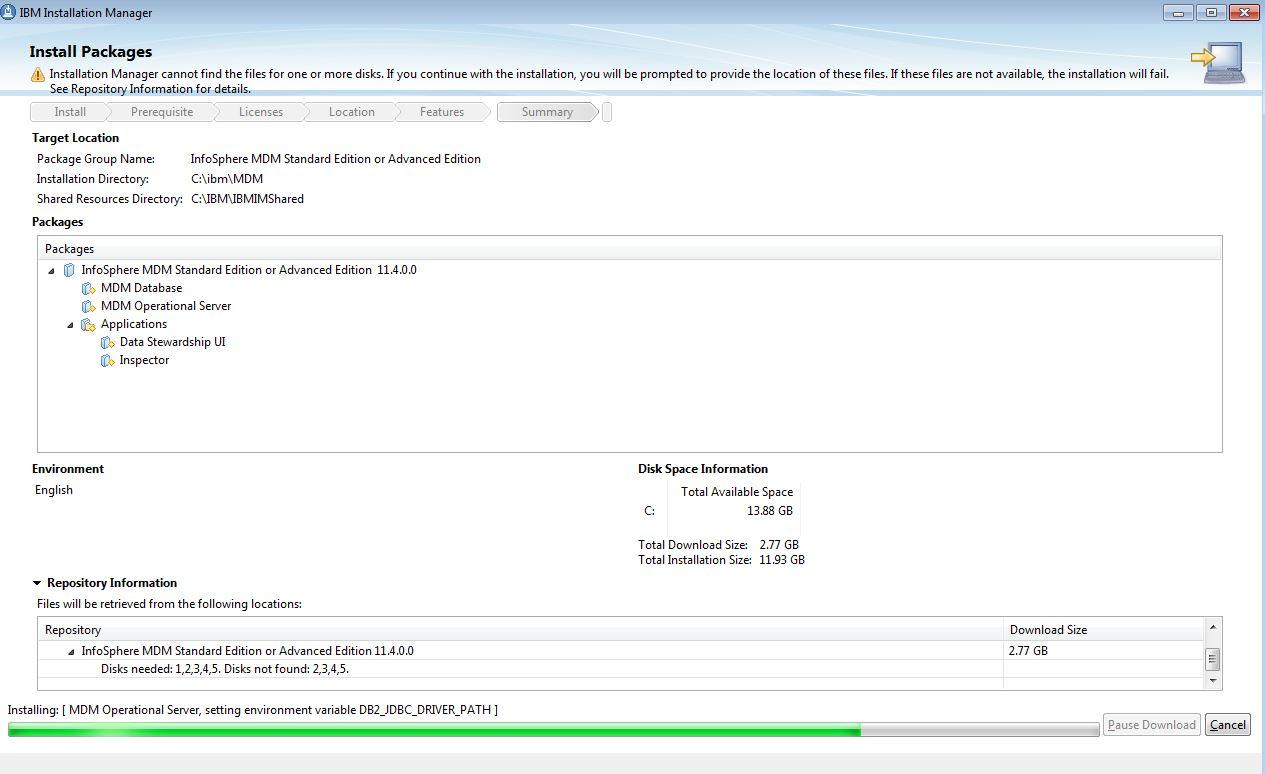
Now everything should be ready for a successful MDM install, however the operational server installer does not do many checks so there is still a chance that you could encounter problems. When problems do occur, the install will either roll back, requiring a reinstall, or keep going without reporting any issues until the install verification tests fail. This makes it difficult to track down problems so it's worth taking time to make sure everything is configured correctly before starting the install.
Manual pre-install checks
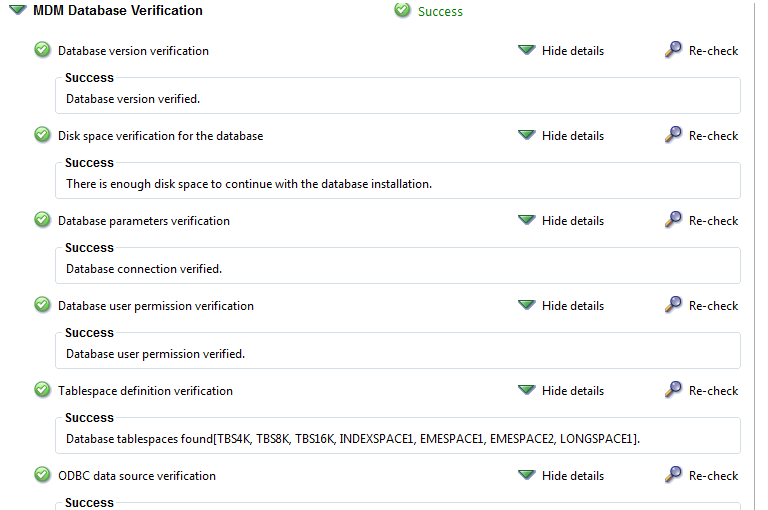
First I checked that DB2 was installed in a directory called SQLLIB using the db2level command. Next I checked that the required table spaces had all been created using the command below:
db2 -td; CONNECT TO MDMDB && db2 -td; SELECT VARCHAR(TS.TBSPACE,20) AS TABLESPACE, TS.PAGESIZE, VARCHAR(BP.BPNAME,20) AS BUFFERPOOL FROM SYSCAT.TABLESPACES TS, SYSCAT.BUFFERPOOLS BP WHERE TS.BUFFERPOOLID = BP.BUFFERPOOLID
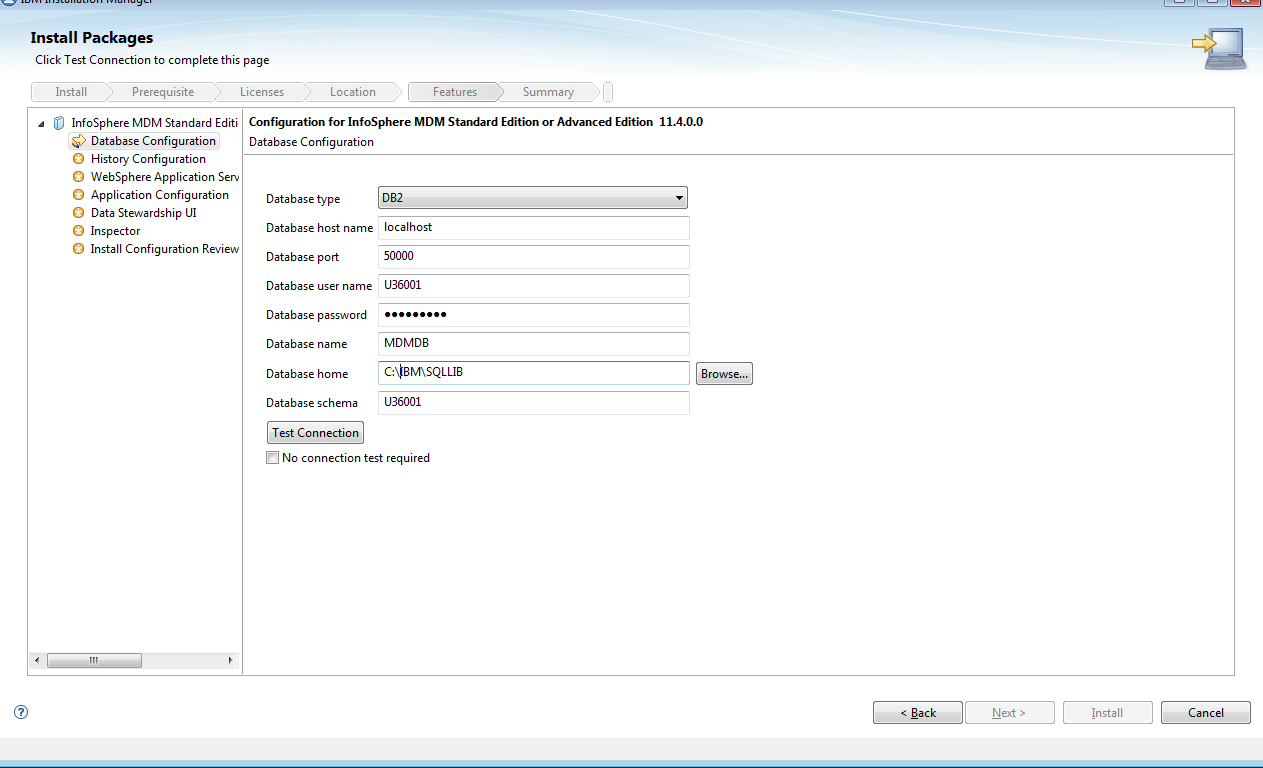
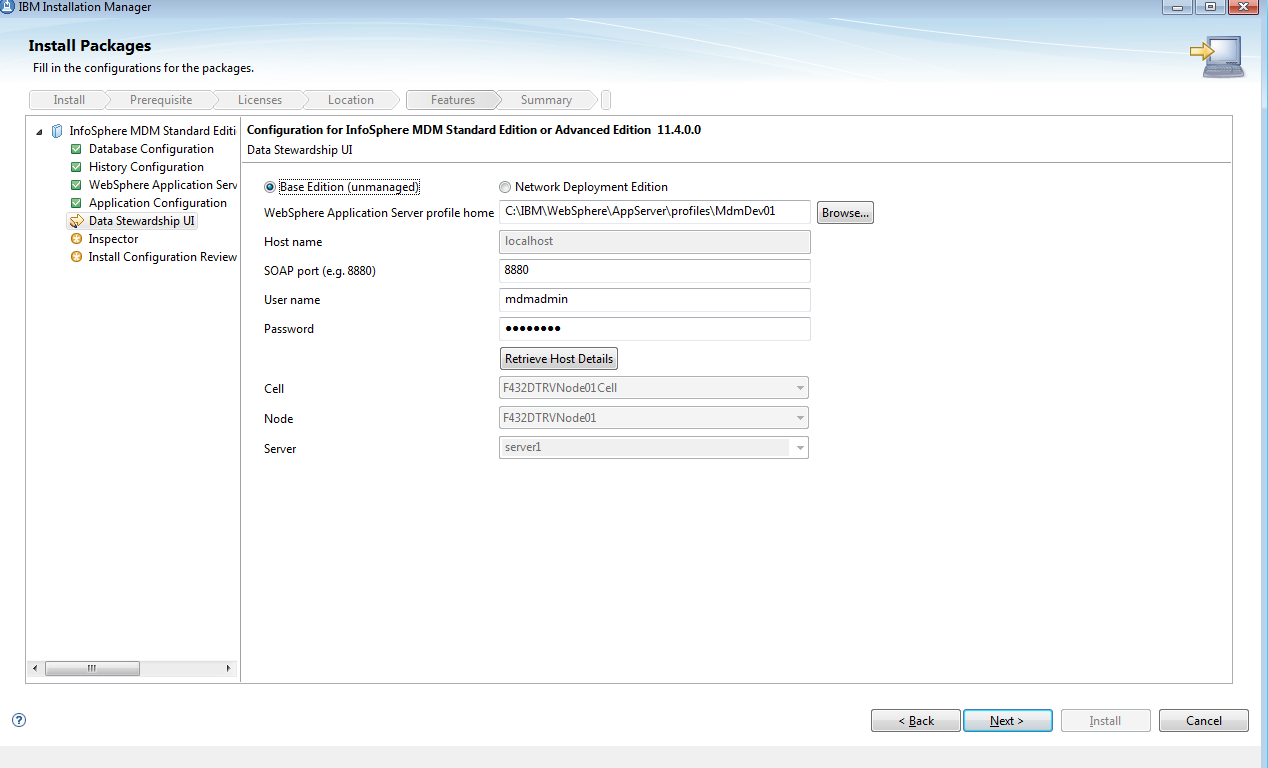
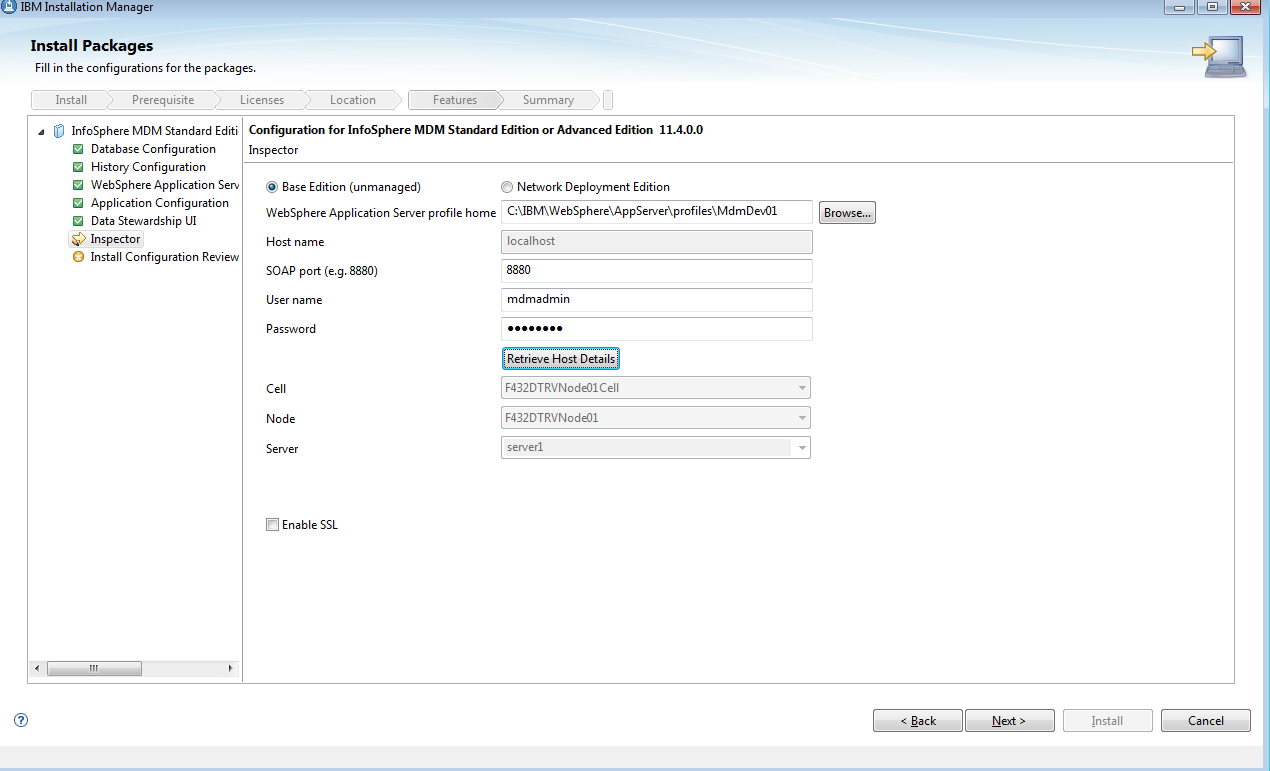
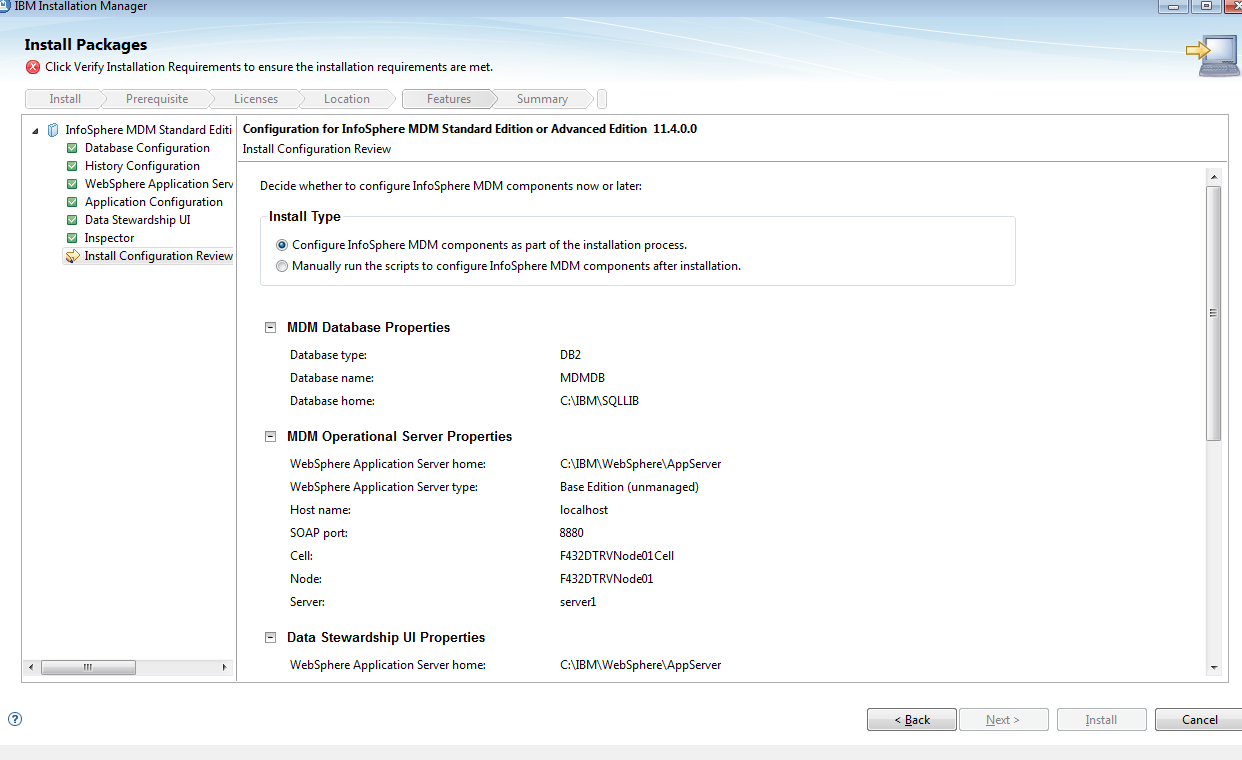
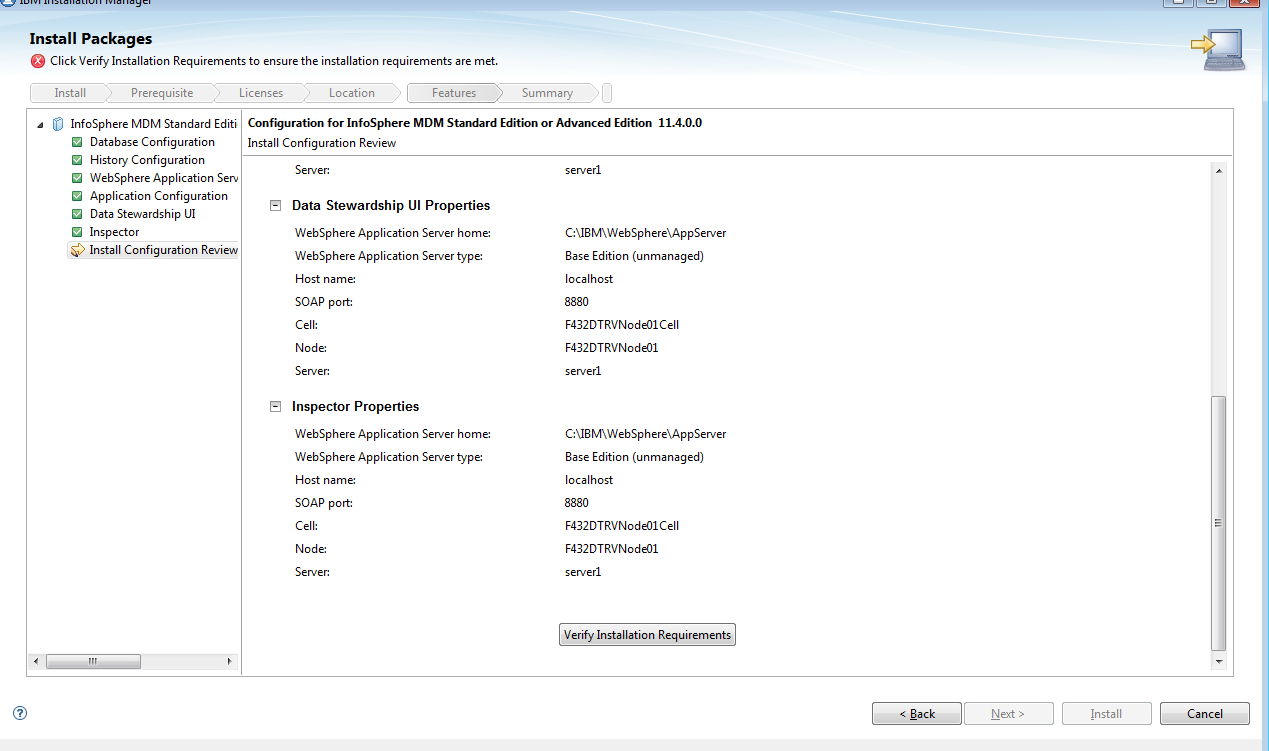
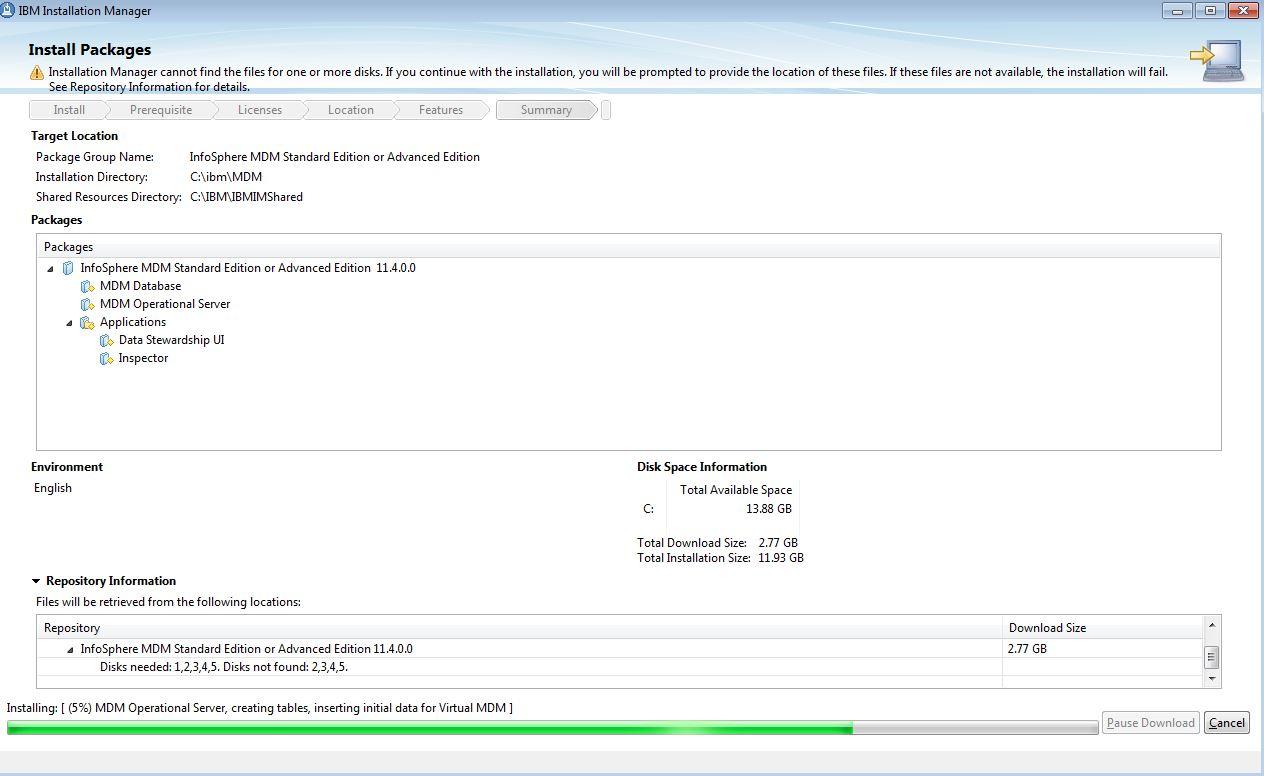
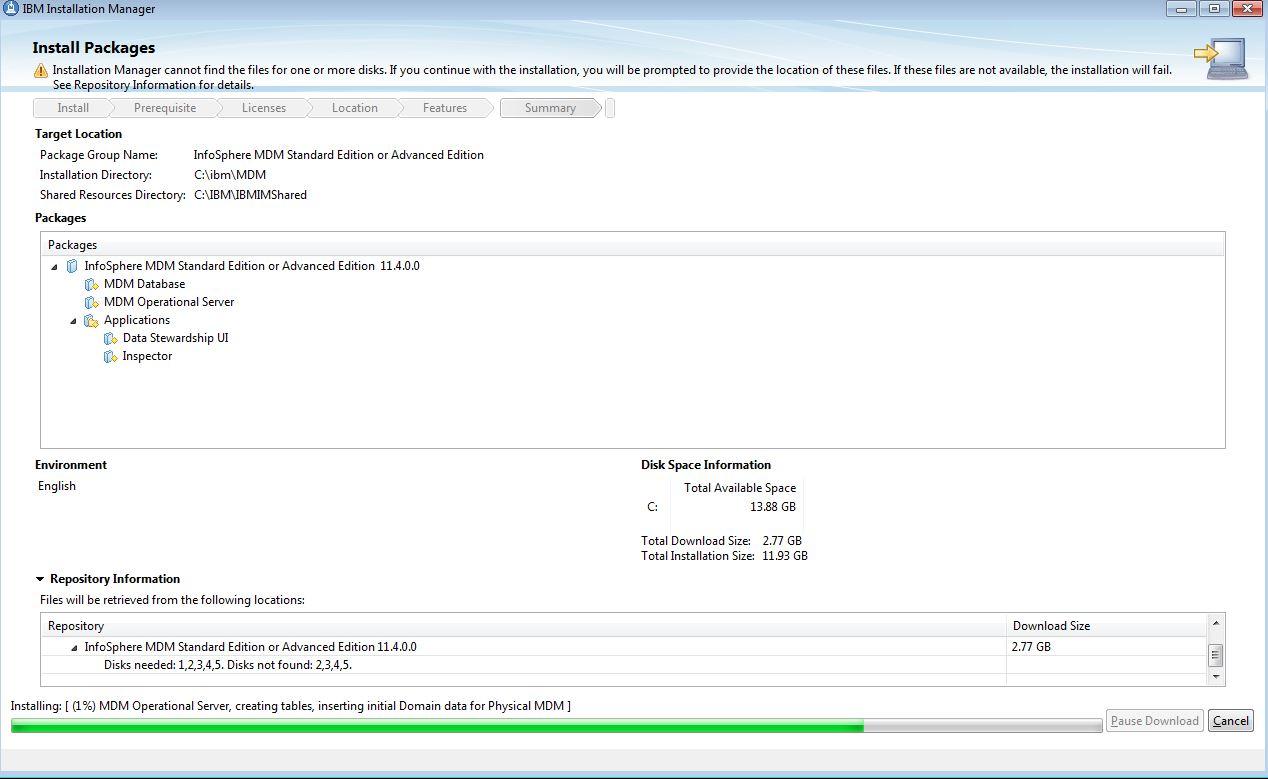
MDM 11.4 Install:
From Installation Manger
Click Install
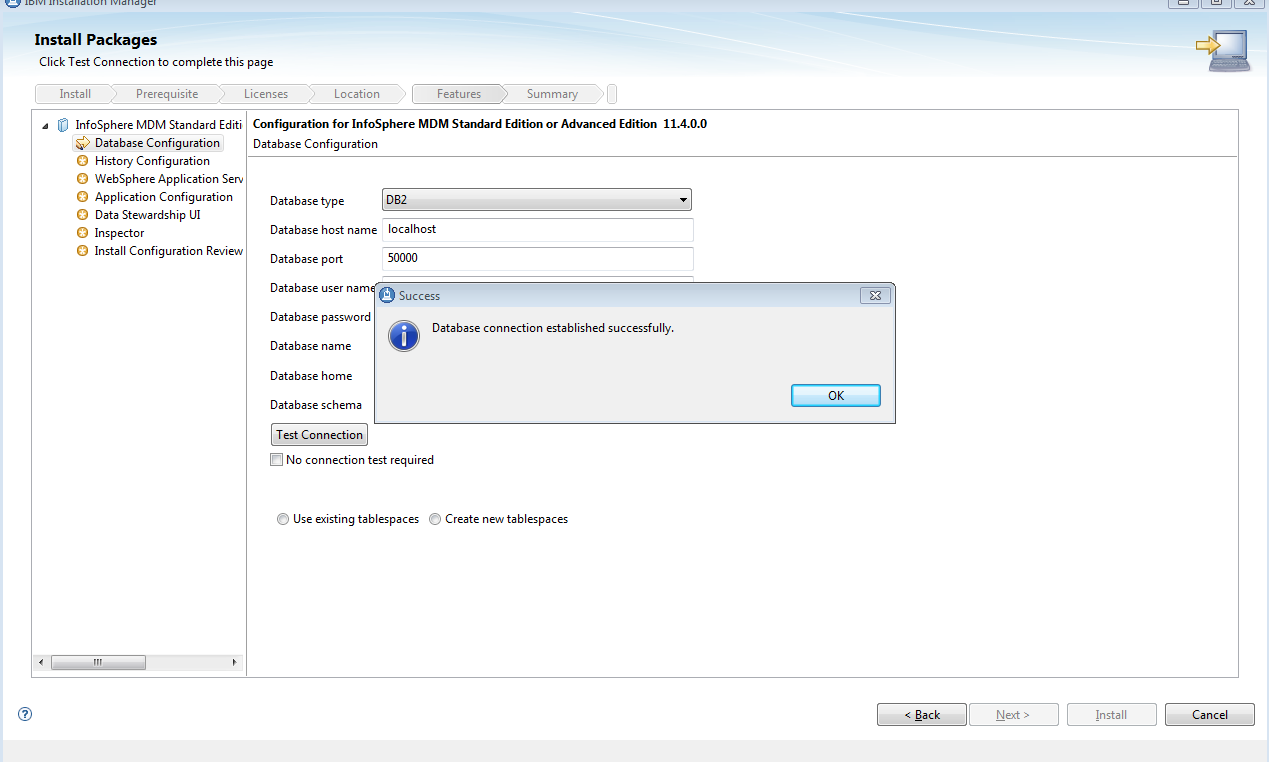
Click Test Connection.
Click Use Existing Table space (as we created it manually with the Startup Toolkit)
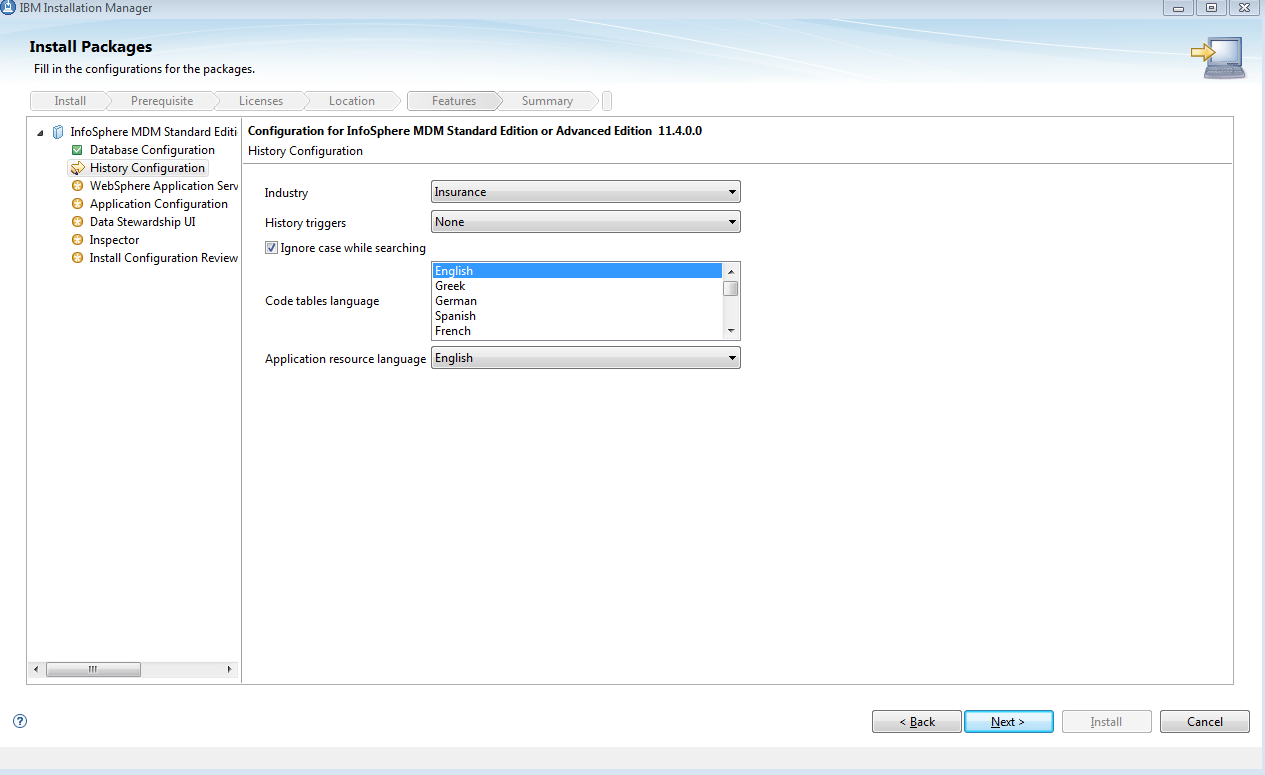
Select your Industry
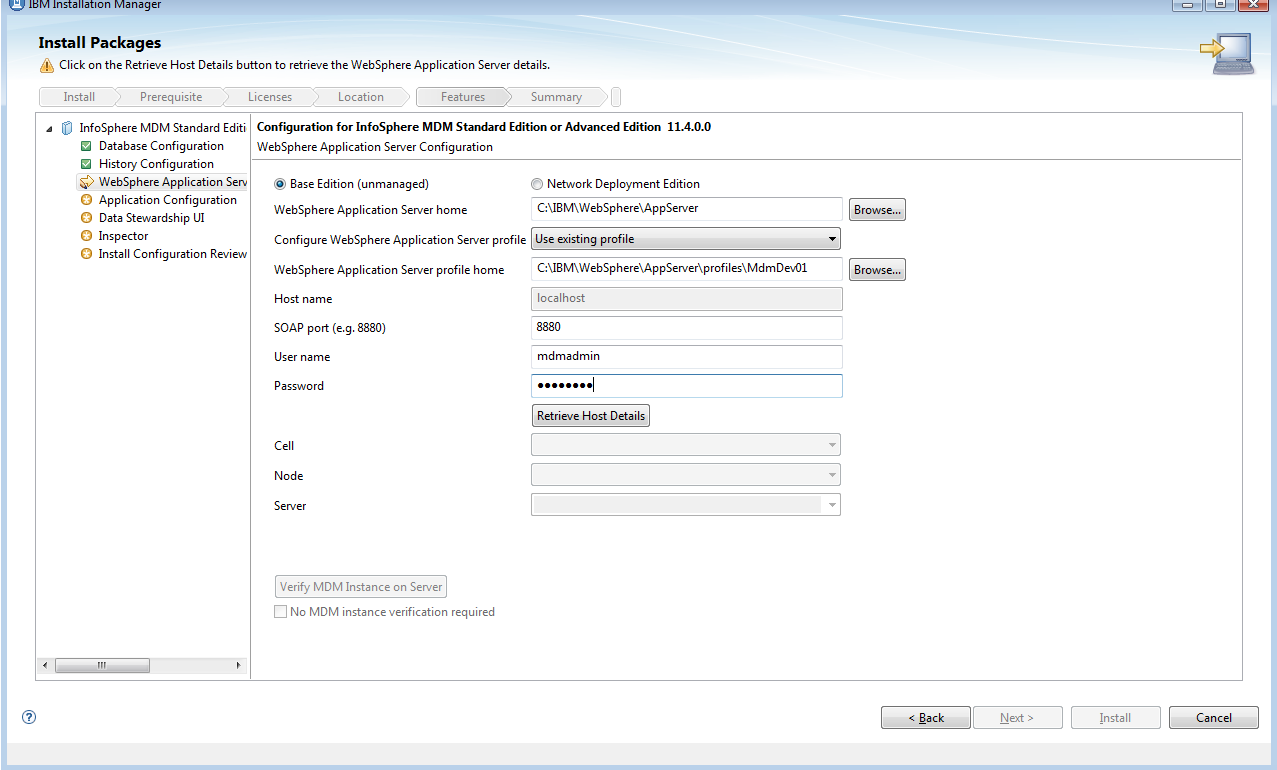
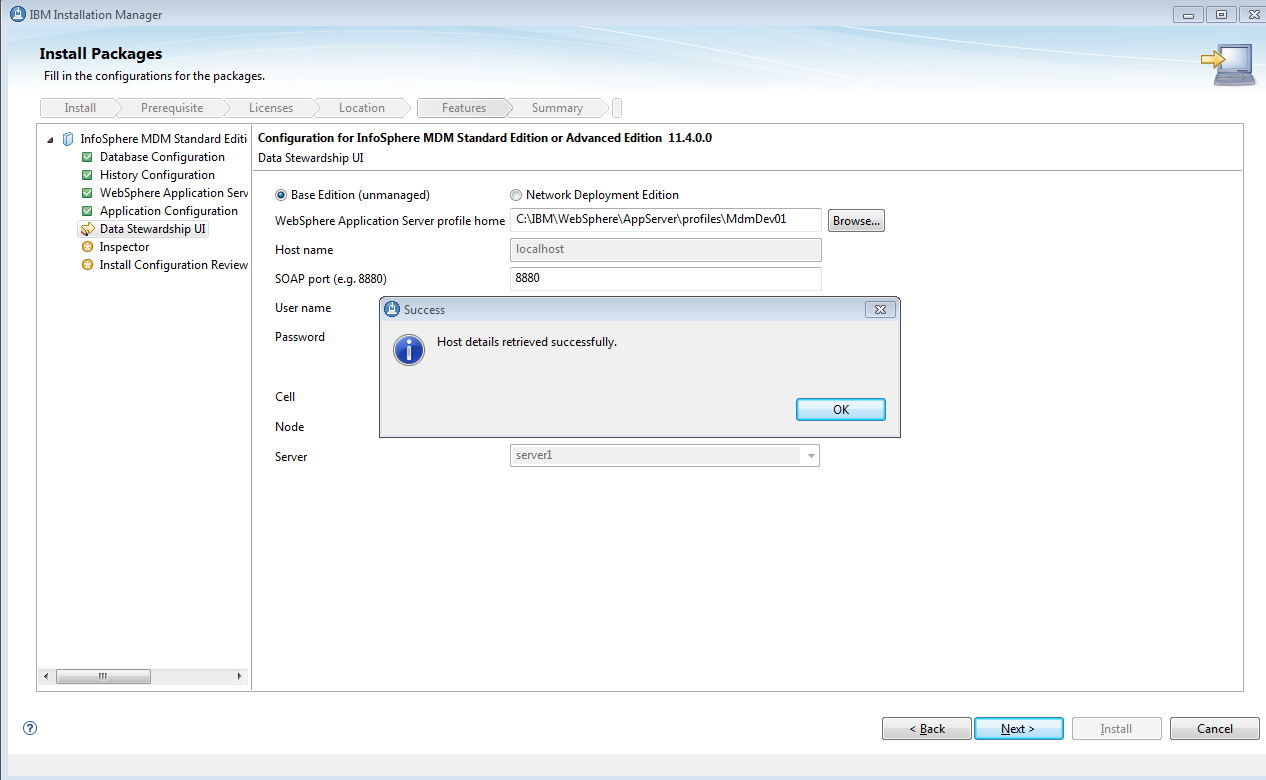
Click Retreive
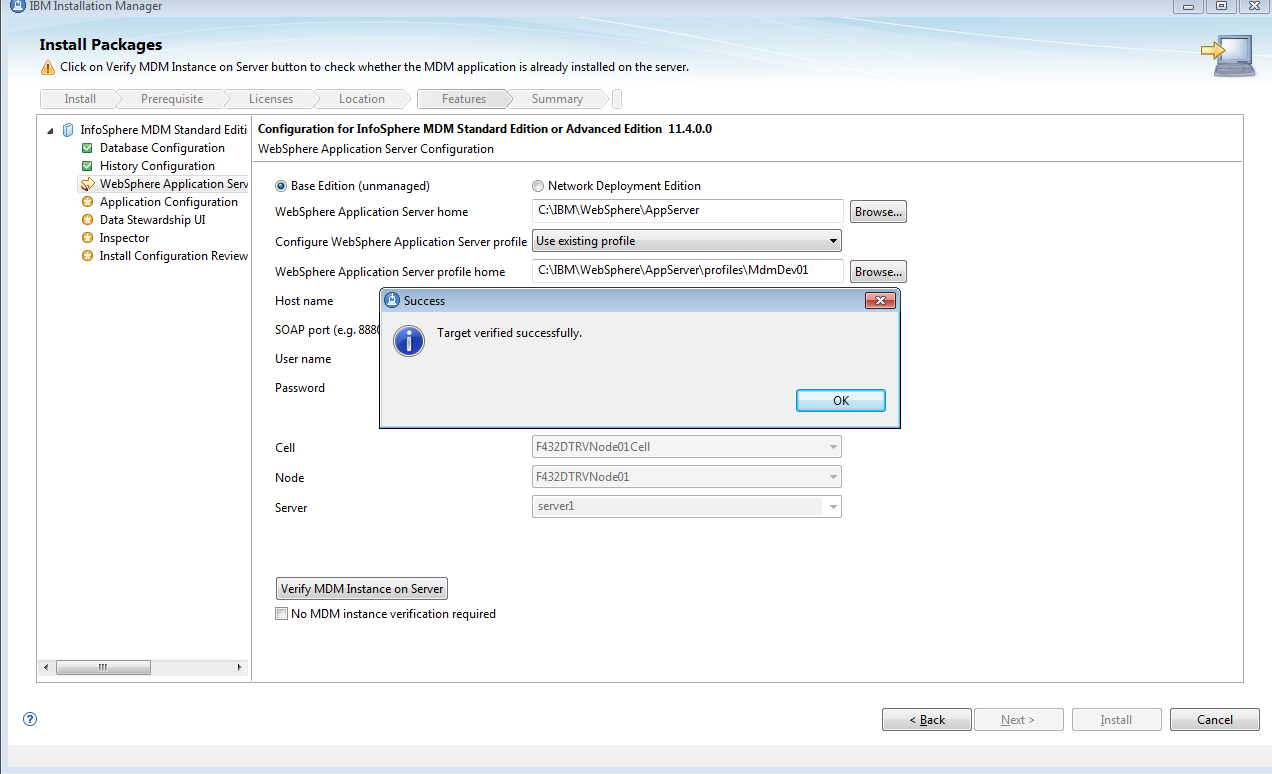
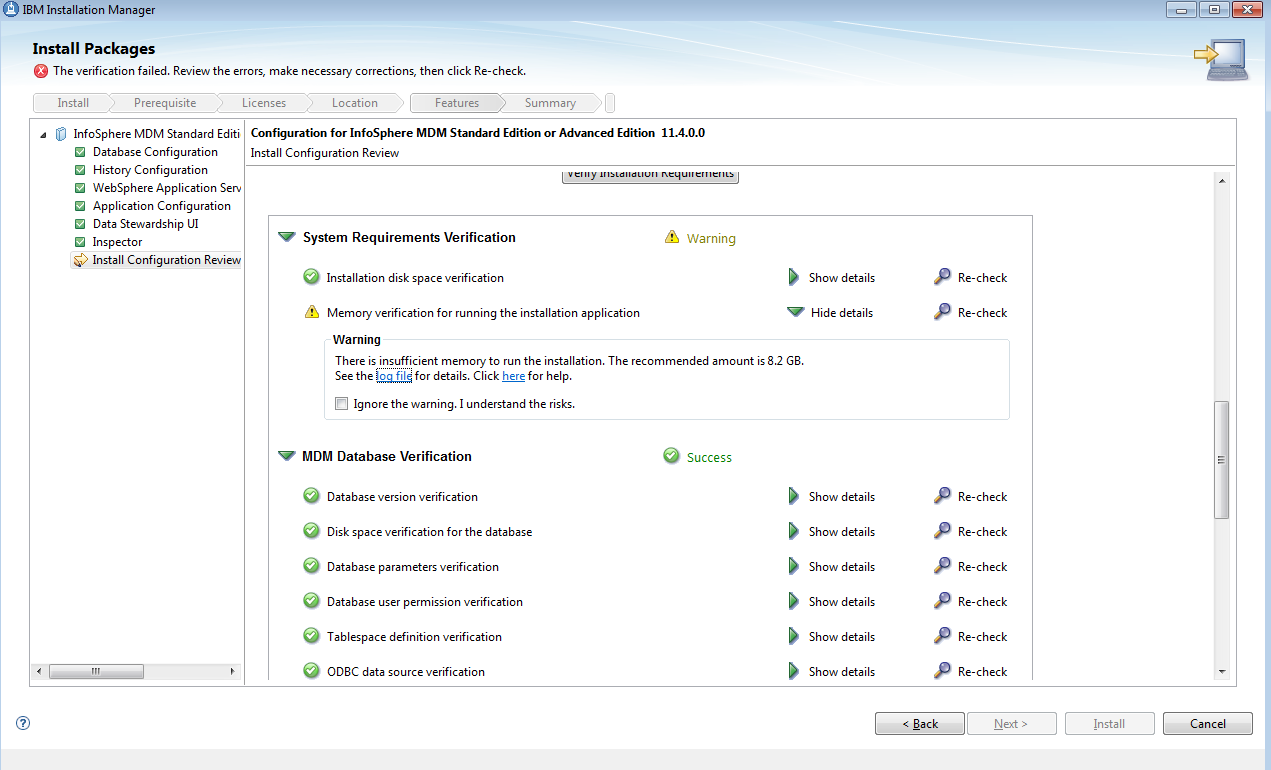
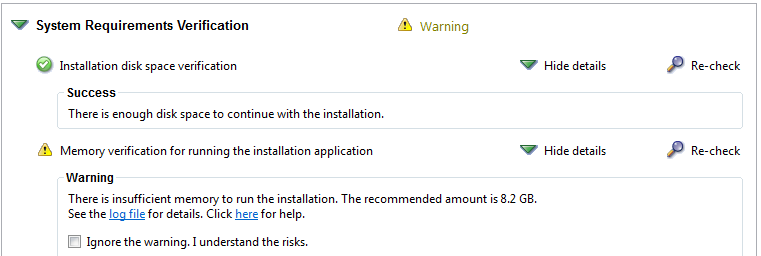
Click Verify
Click Verify
Go ahead and Install
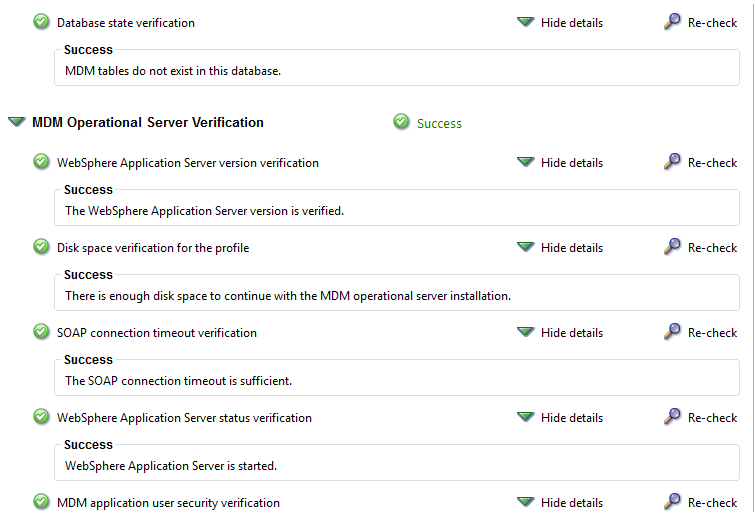
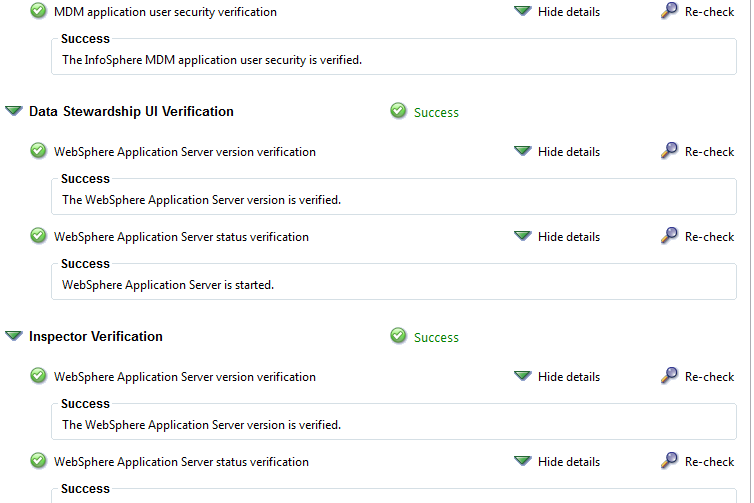
Verify the IVT response xmls.
Verify the entries in APPSOFTWARE,APPDEPLOYMENT tables.
I hope this gives you some basic idea on the installation of IBM MDM v11.4
IBM Websphere Training | 21cssindia
ReplyDeletewww.21cssindia.com/IBM-Websphere-Training
IBM Websphere Training Click Here For Enquiry Basics and new features.
Thanks for the list and nice Topic...
ReplyDeleteIT security companies in India
best ibm logo free logo
ReplyDelete